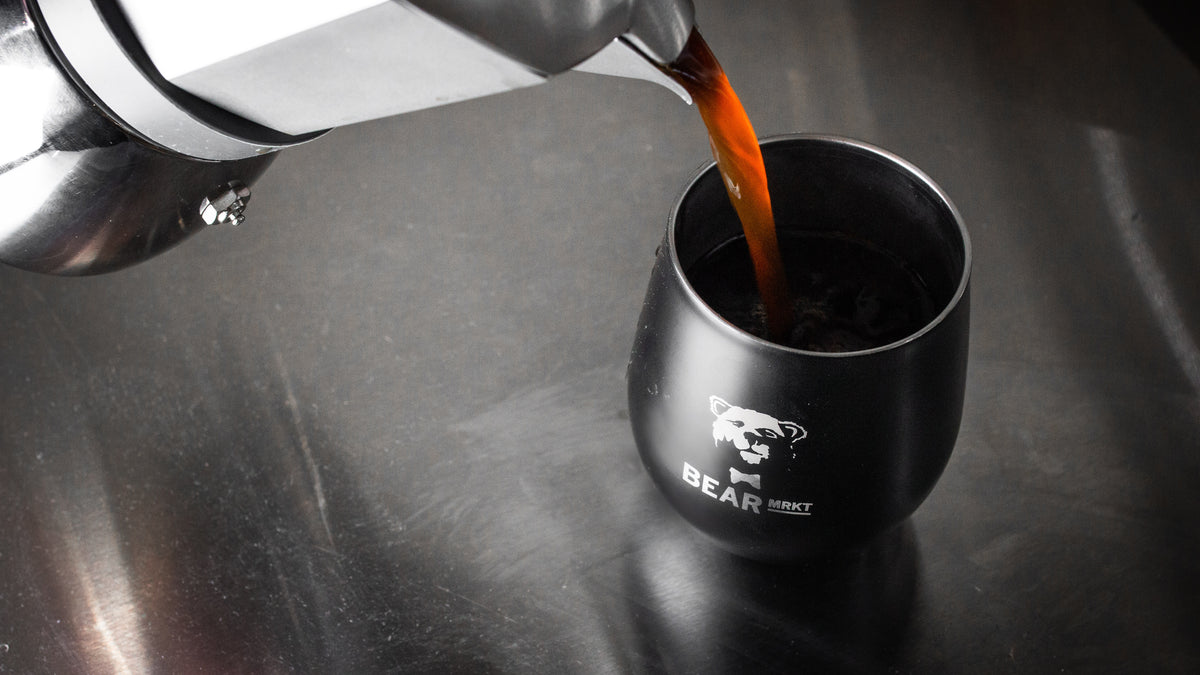
brew GUides
Unlock the secrets to brewing the perfect cup of coffee with our comprehensive guides. Whether you're a novice or a seasoned barista, our tips will elevate your coffee experience.
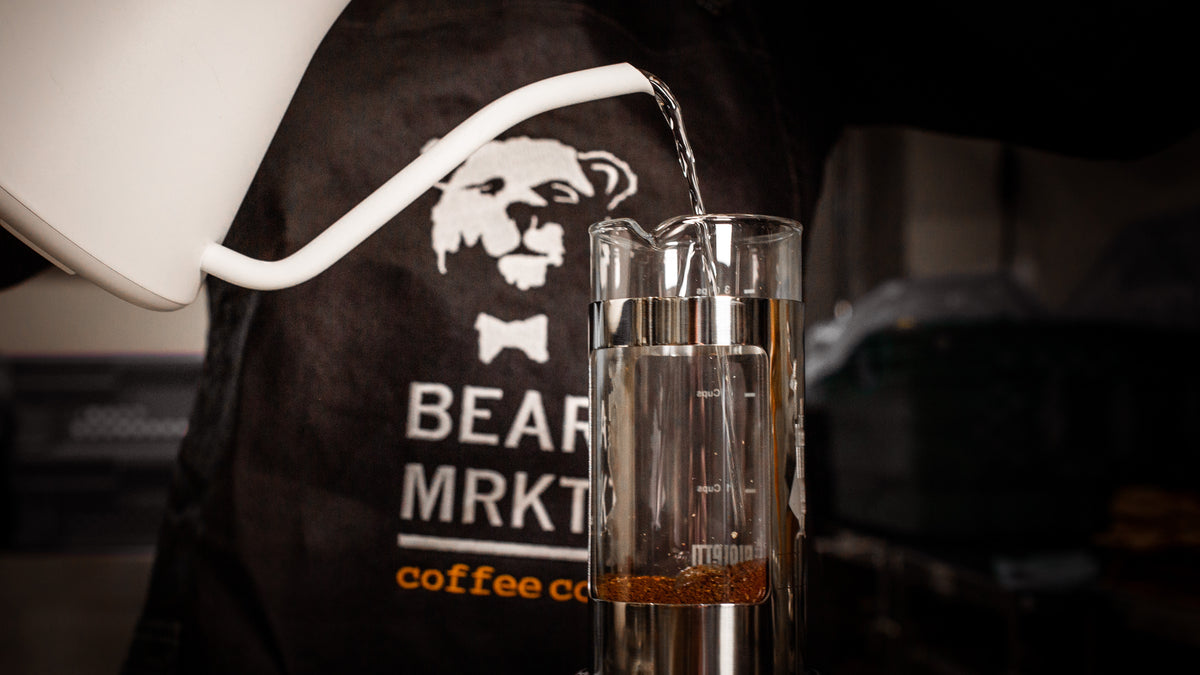
STEP 1.
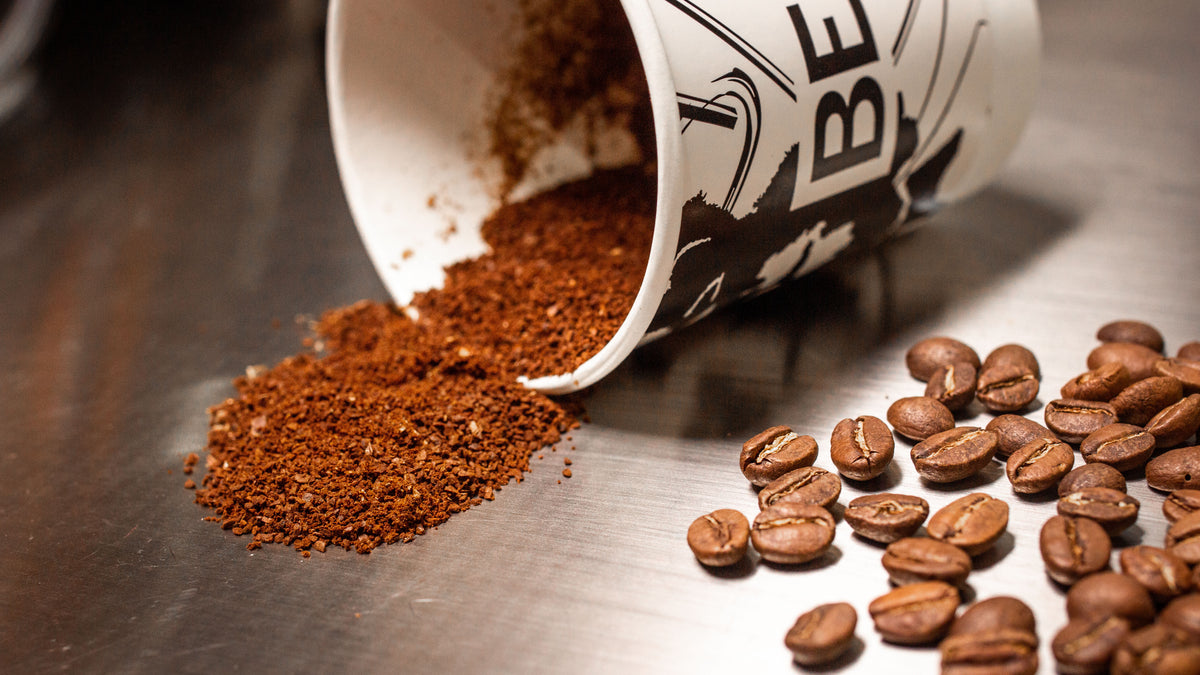
Bring 220g of water to 89 degrees Celsius. The grind texture should be slightly finer than sea salt. We will use between 15g-18g depending on how strong you like it.
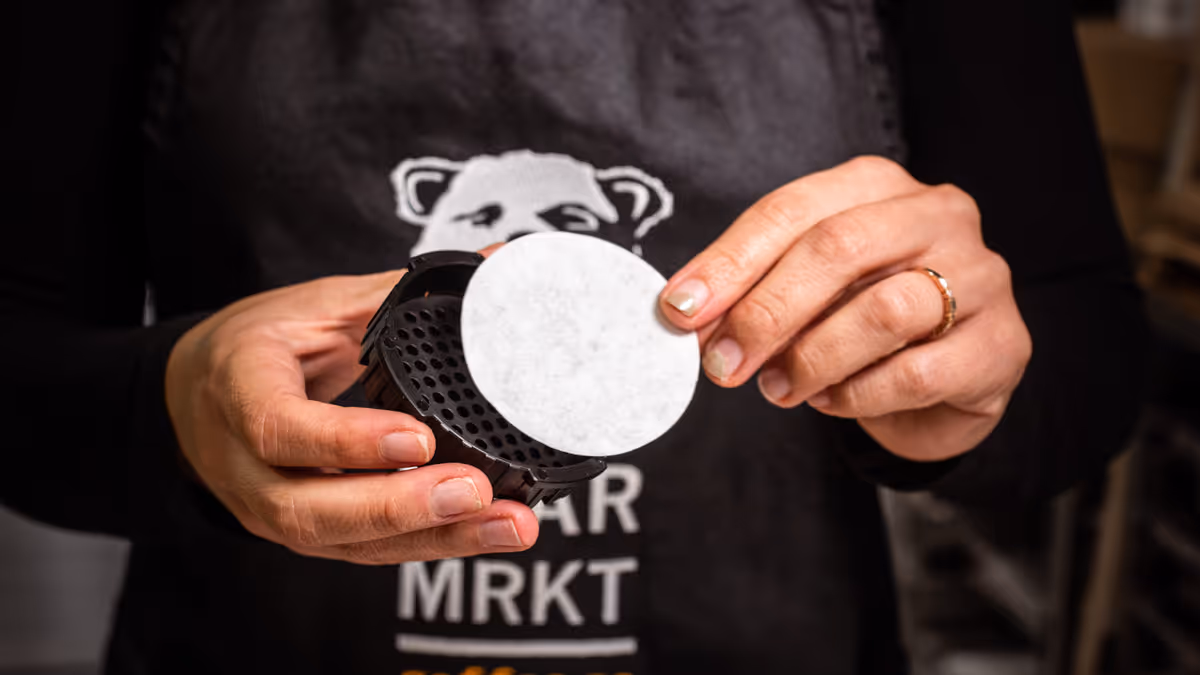
STEP 2.
Insert the filter into the AeroPress and use some hot water to wet the filter. This helps with the heating of the vessel.
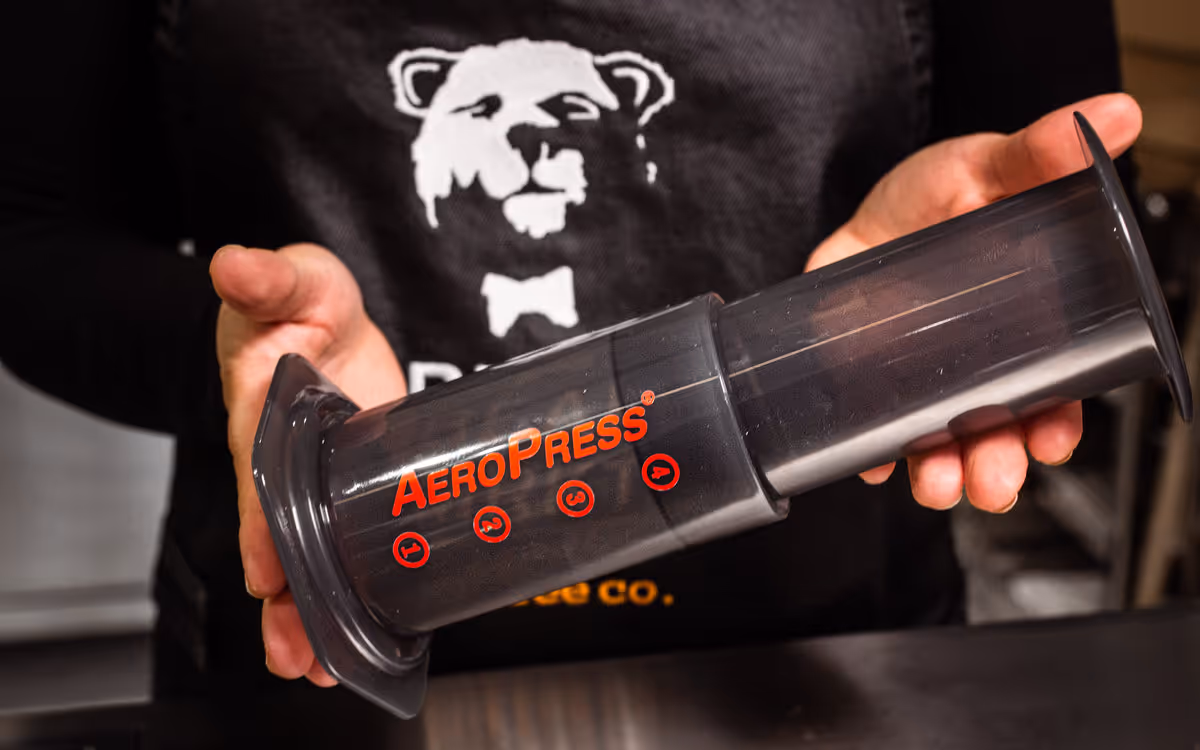
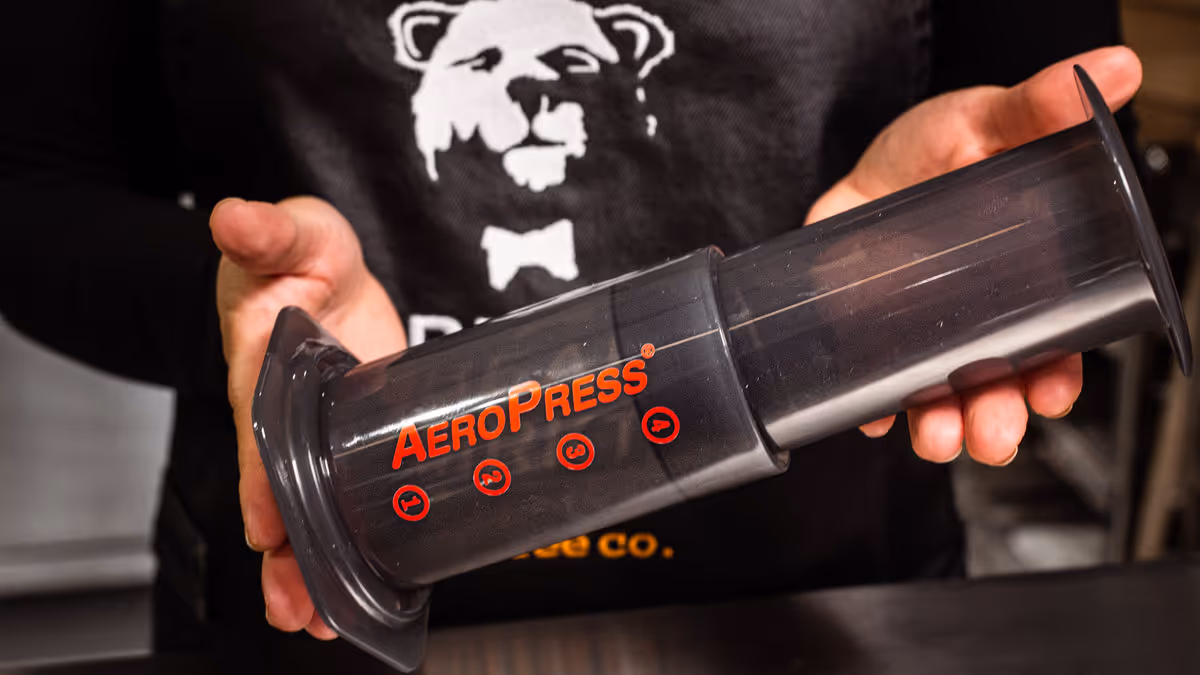
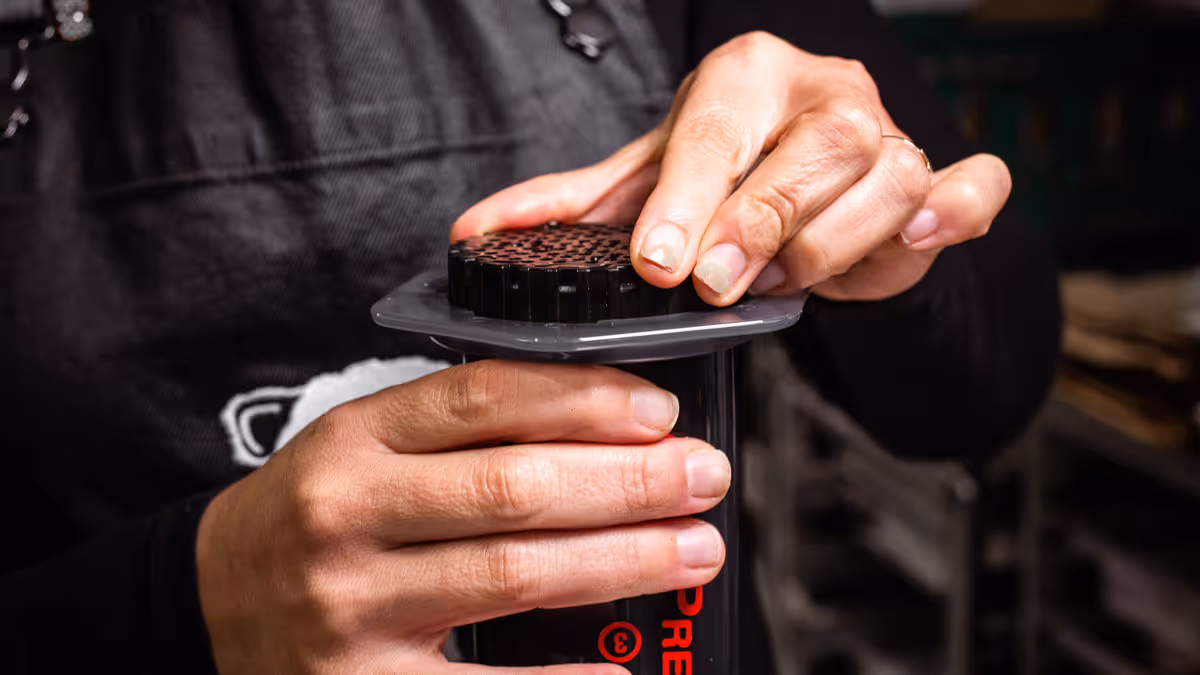
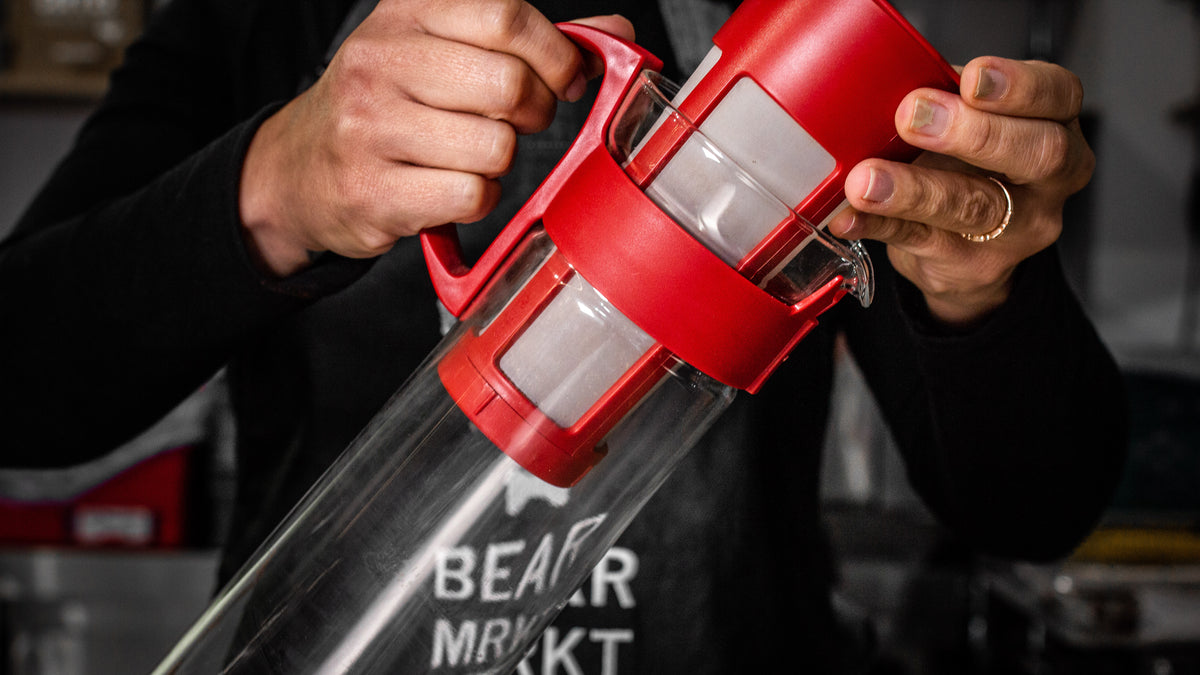
STEP 3.
Assemble the AeroPress.
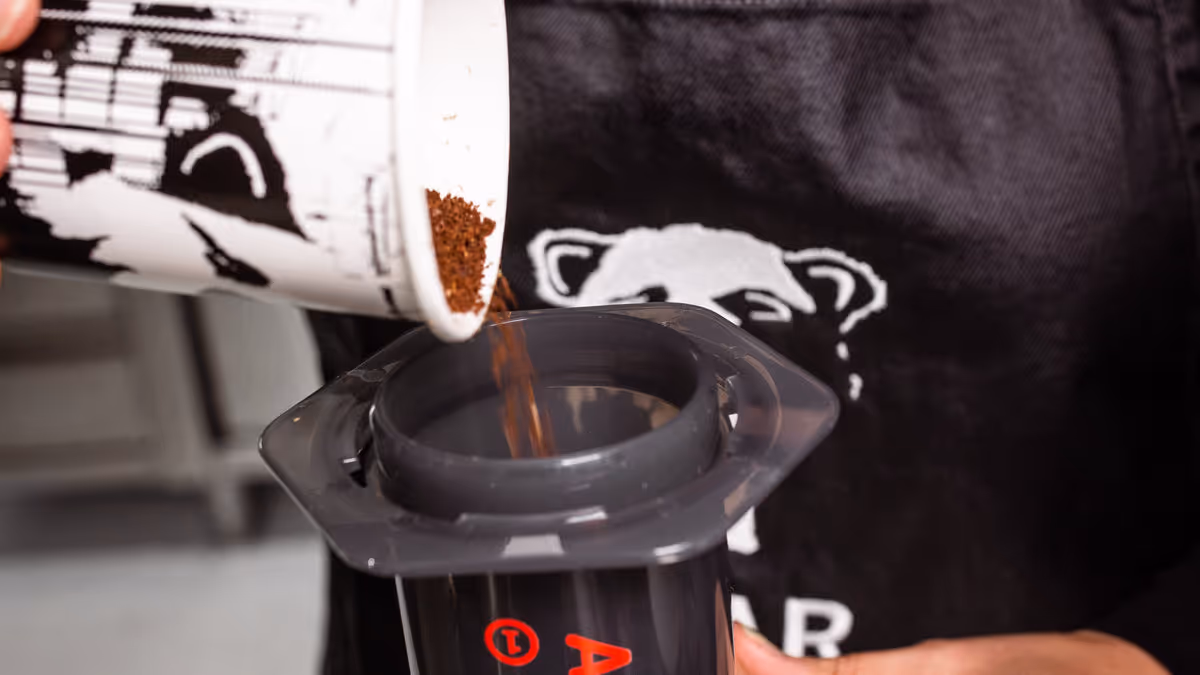
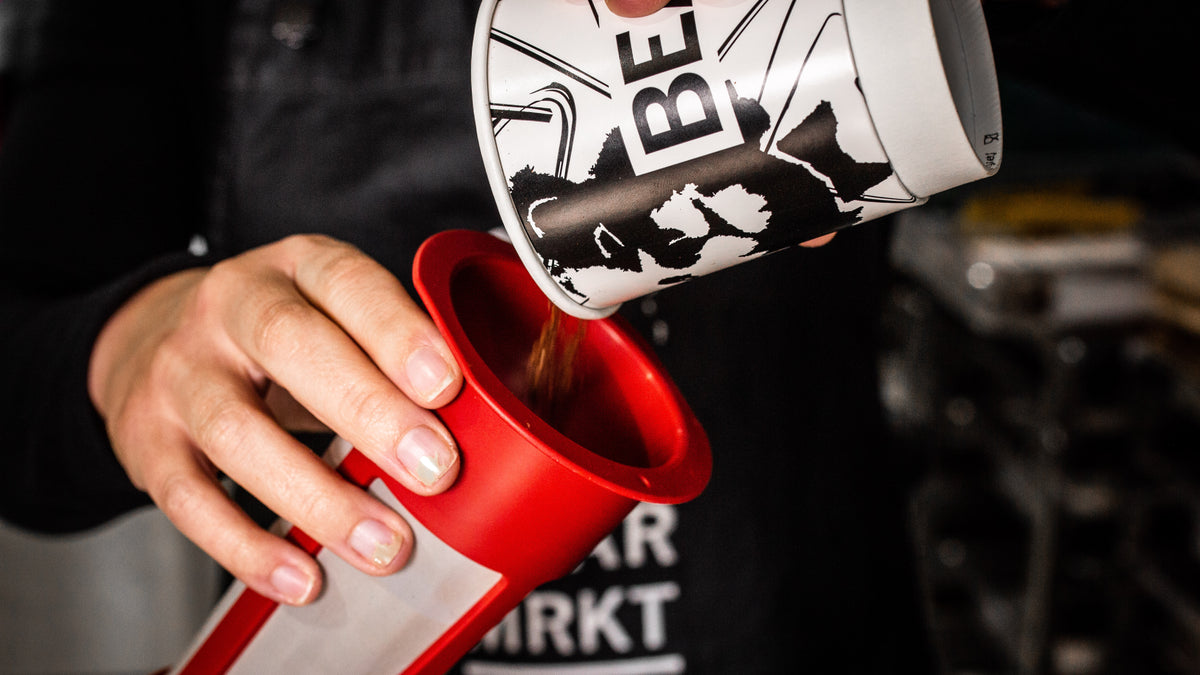
step 4.
You can put your AeroPress on top of a scale to make sure you are using the correct amount of coffee. The numbers of the AeroPress should be upside down.Add the ground coffee to the Aeropress, be careful not to spill the coffee.
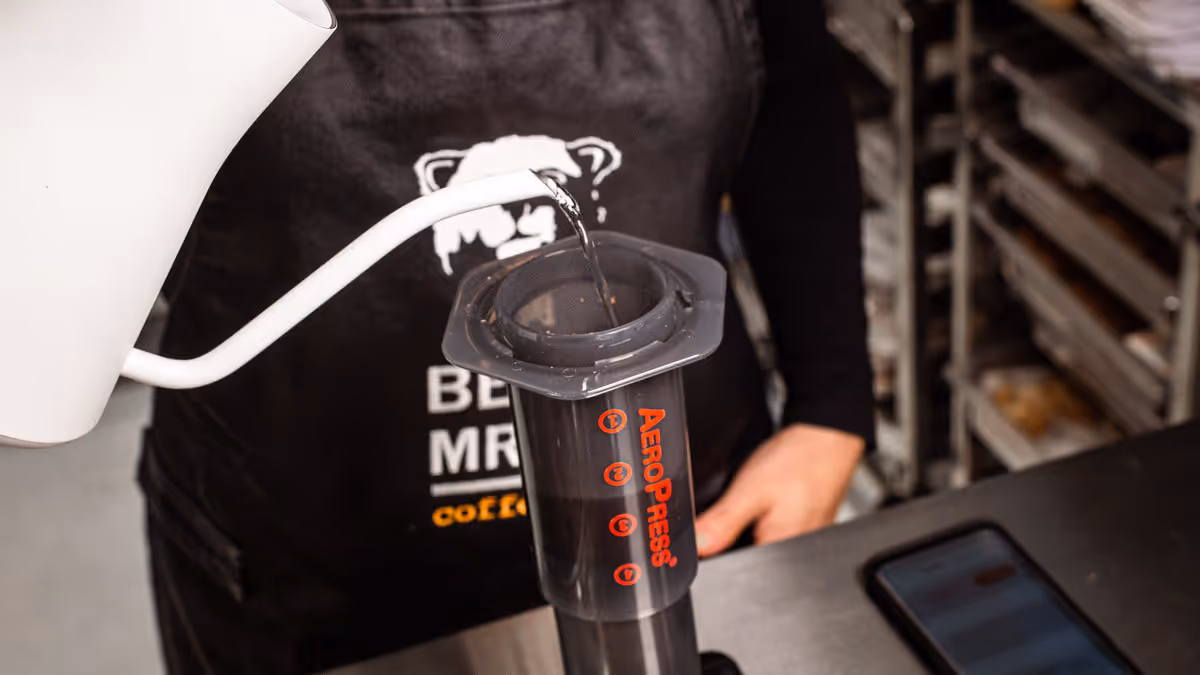
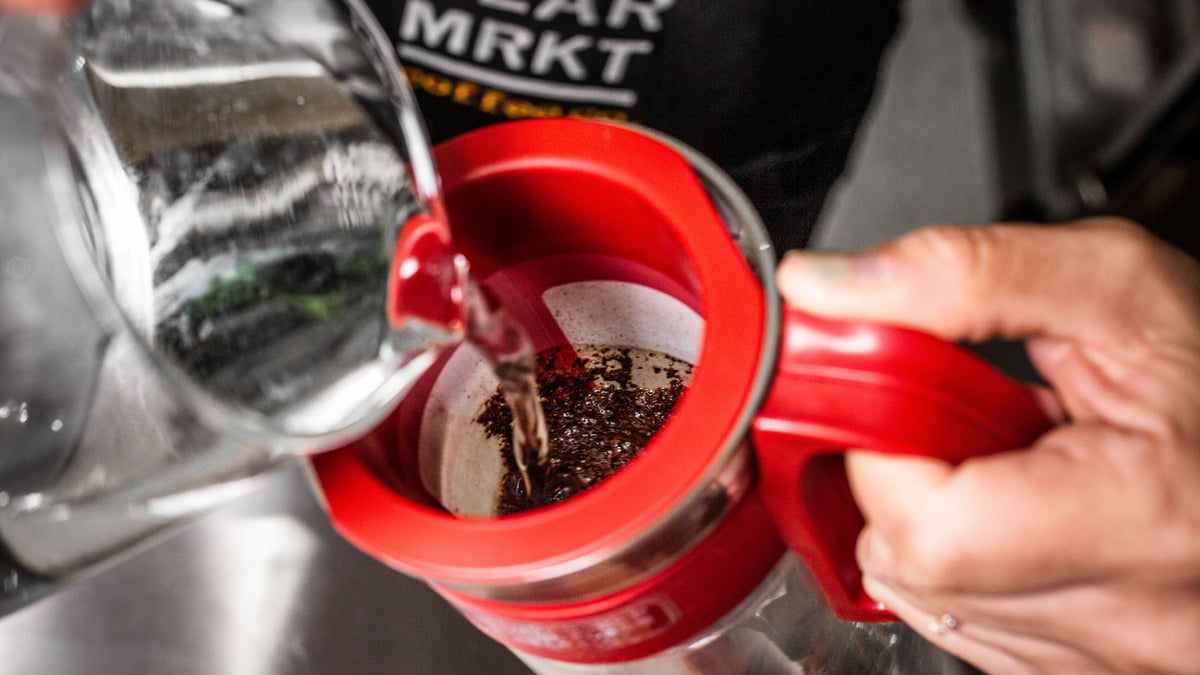
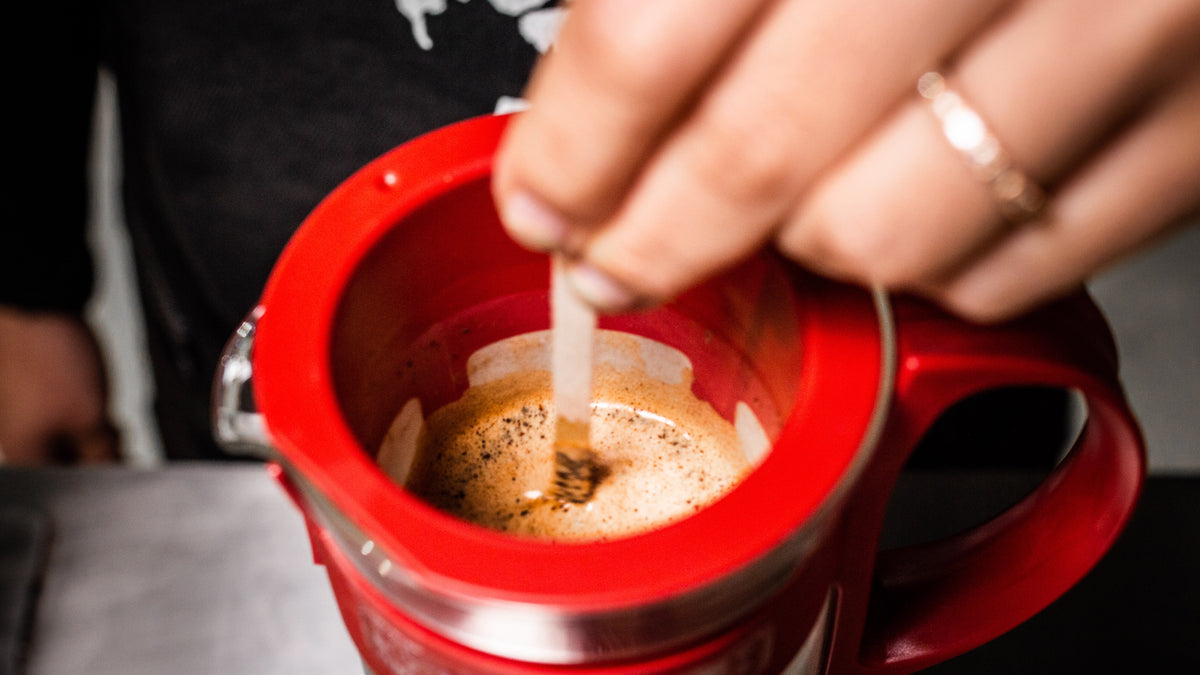
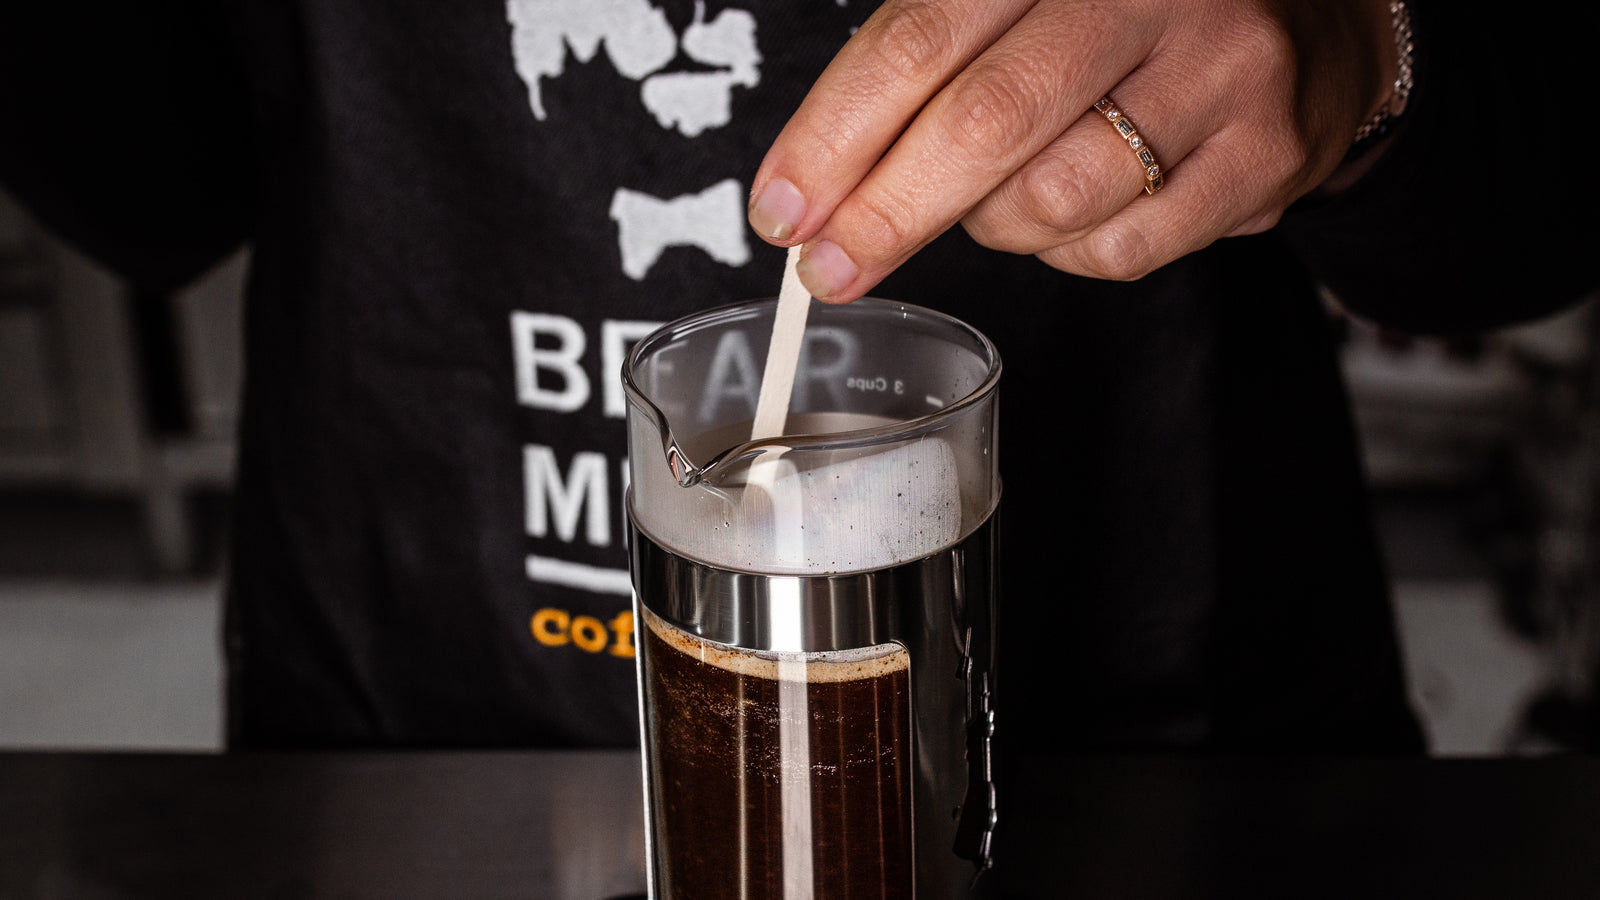
STEP 5.
Start your timer. For the bloom, pour in your 220g of water. Then stir the grounds.
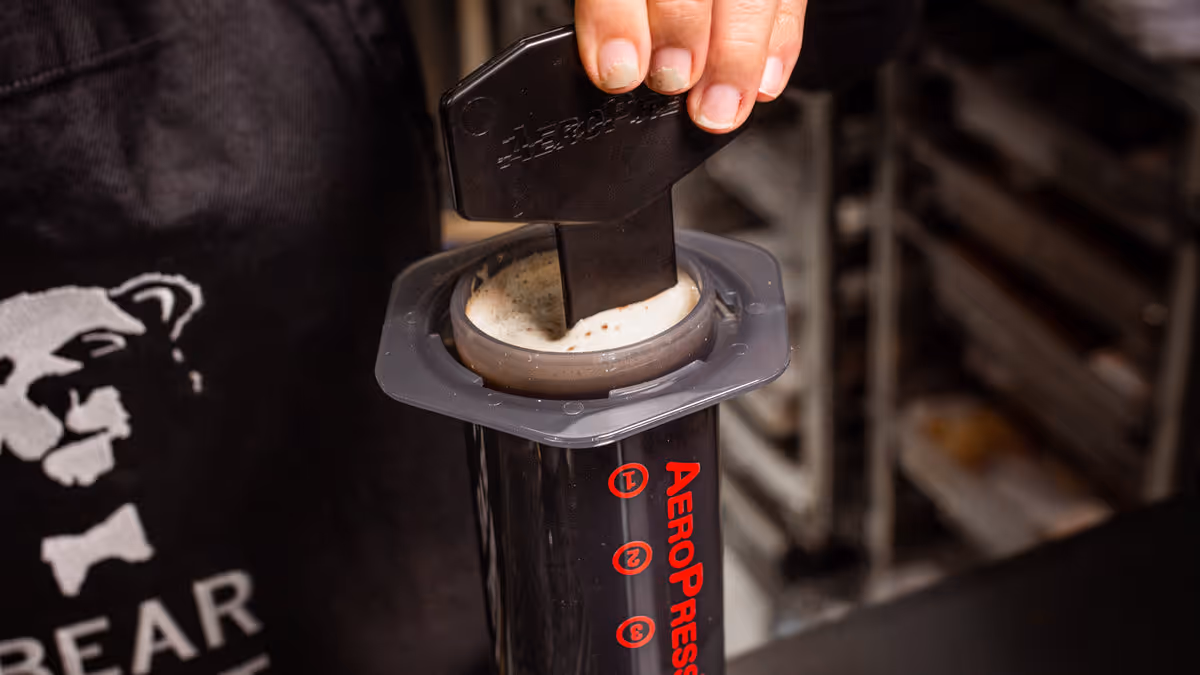
STEP 6.
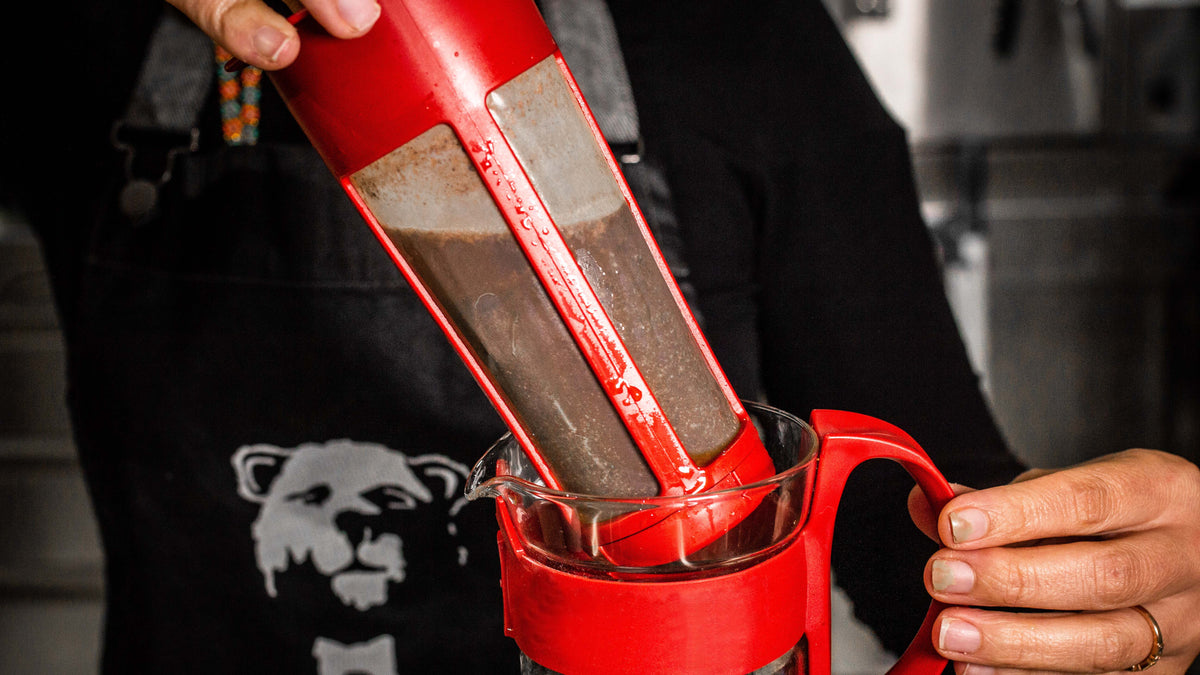
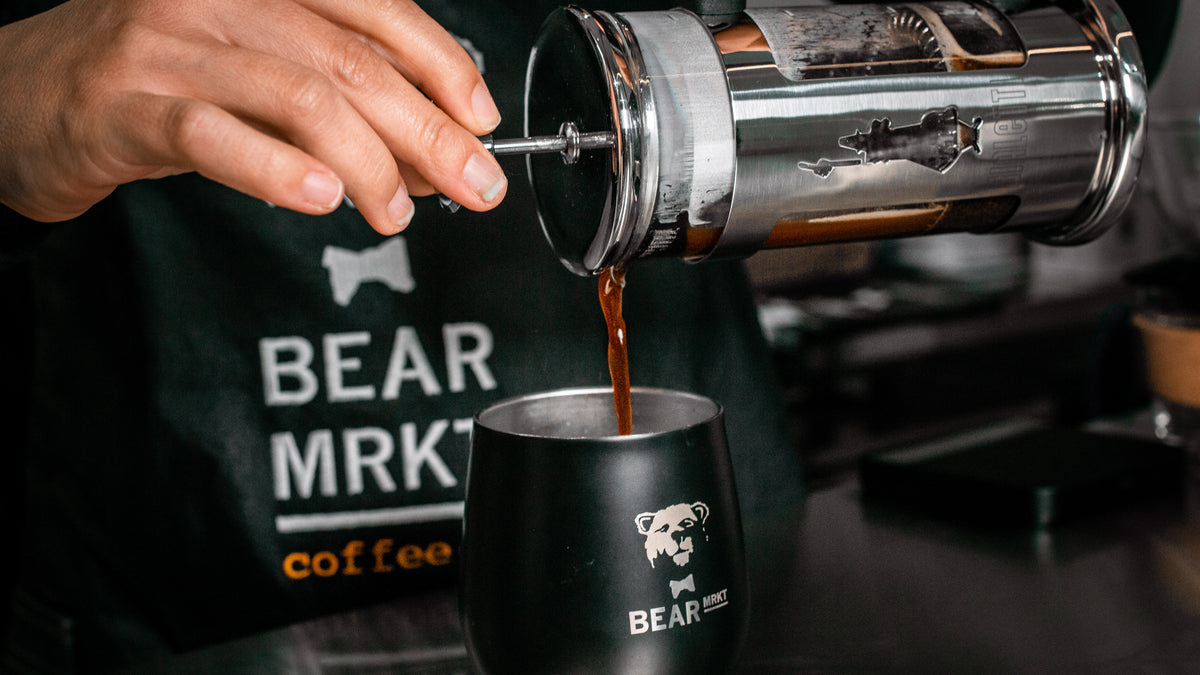
Put the cap on the aeropress, making sure it's on tightly. After 1 minute flip the aeropress onto your cup.
Now press down on the Aeropress for 20/30s.Unscrew the cap, and dispose of the ground coffee
STEP 7.
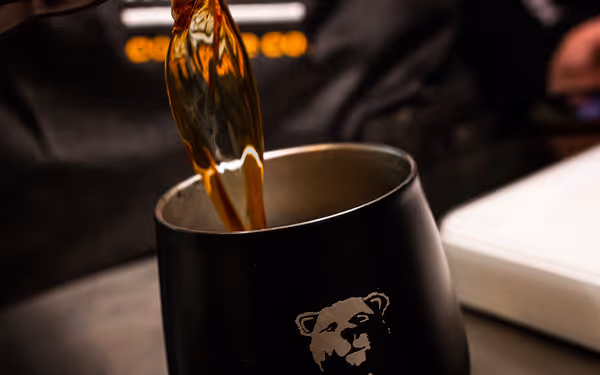
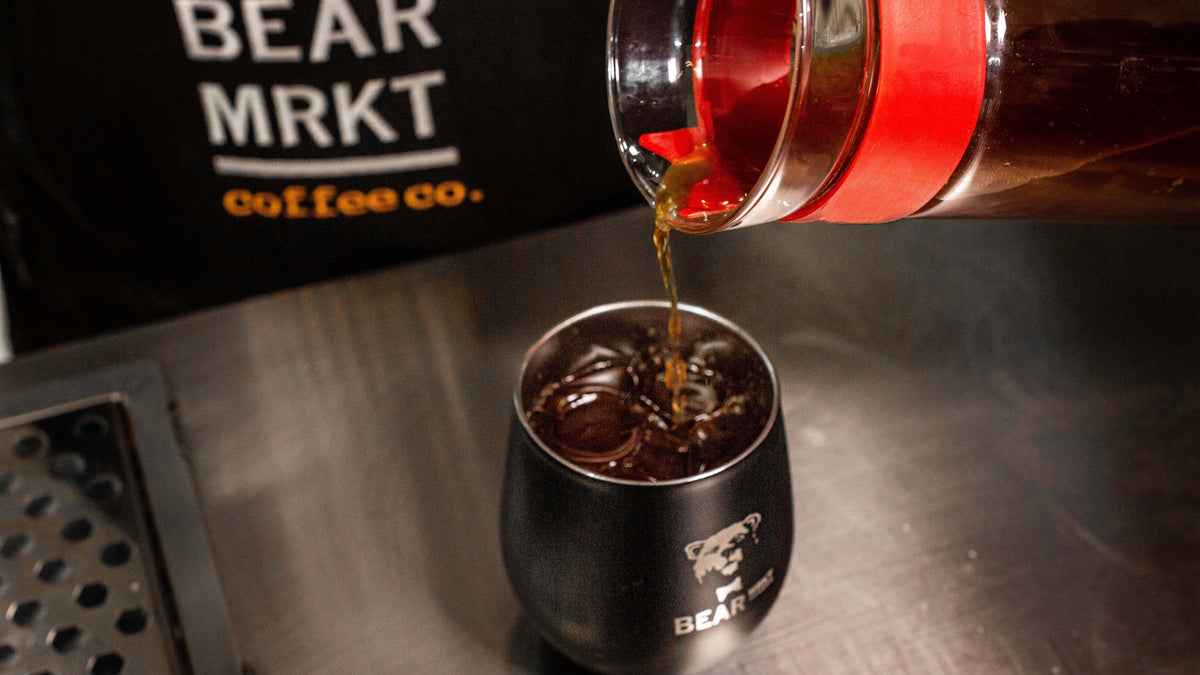
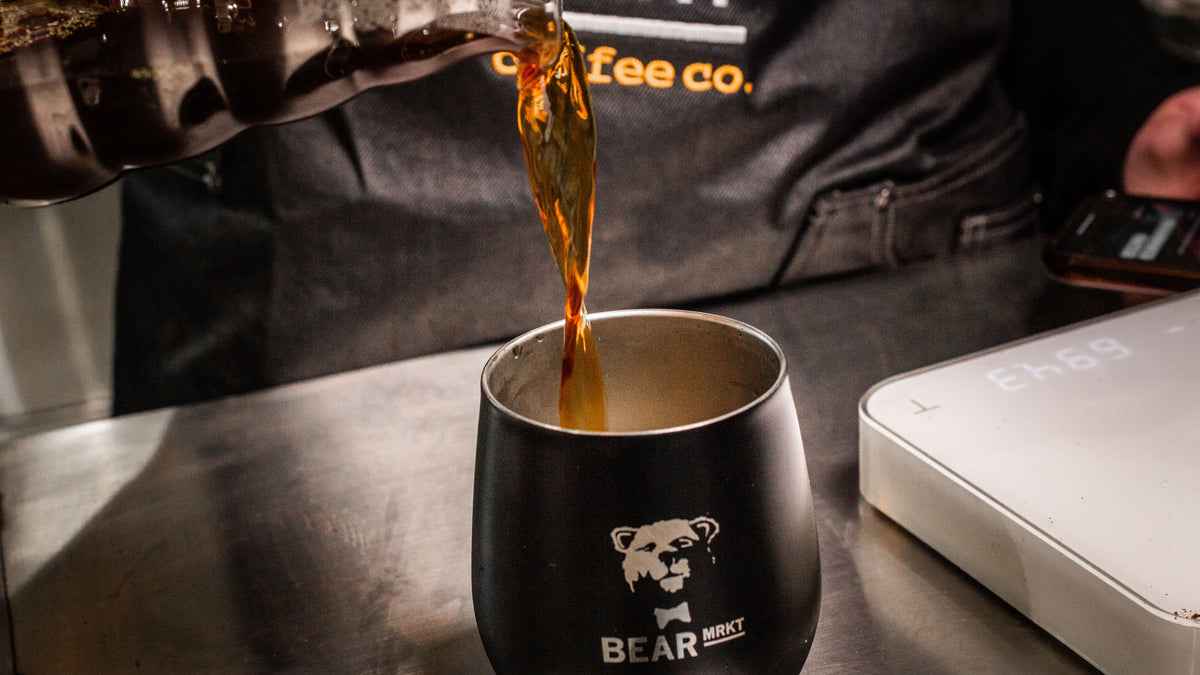
Enjoy your coffee!
STEP 1.
This recipe is ideal for 2 people. We will be using 30 grams of coffee to 500g of water.
The grind coarseness for this method is a bit coarser than table salt.
Our 500g of water needs to be at 93 degrees Celsius.

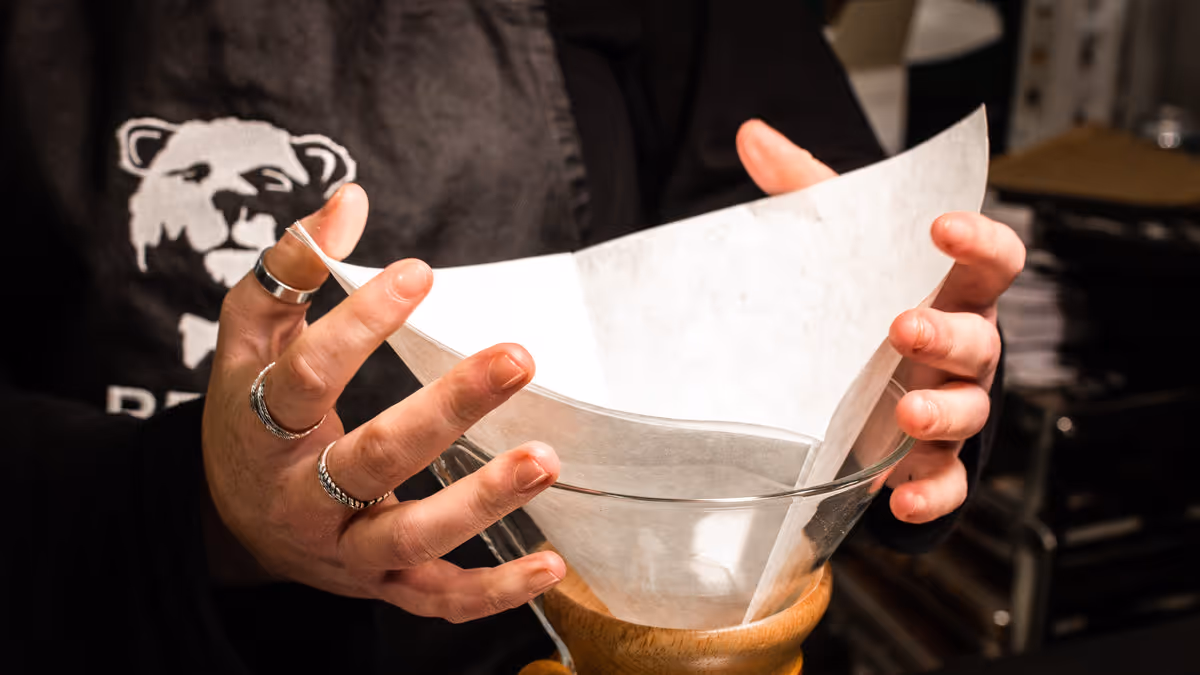
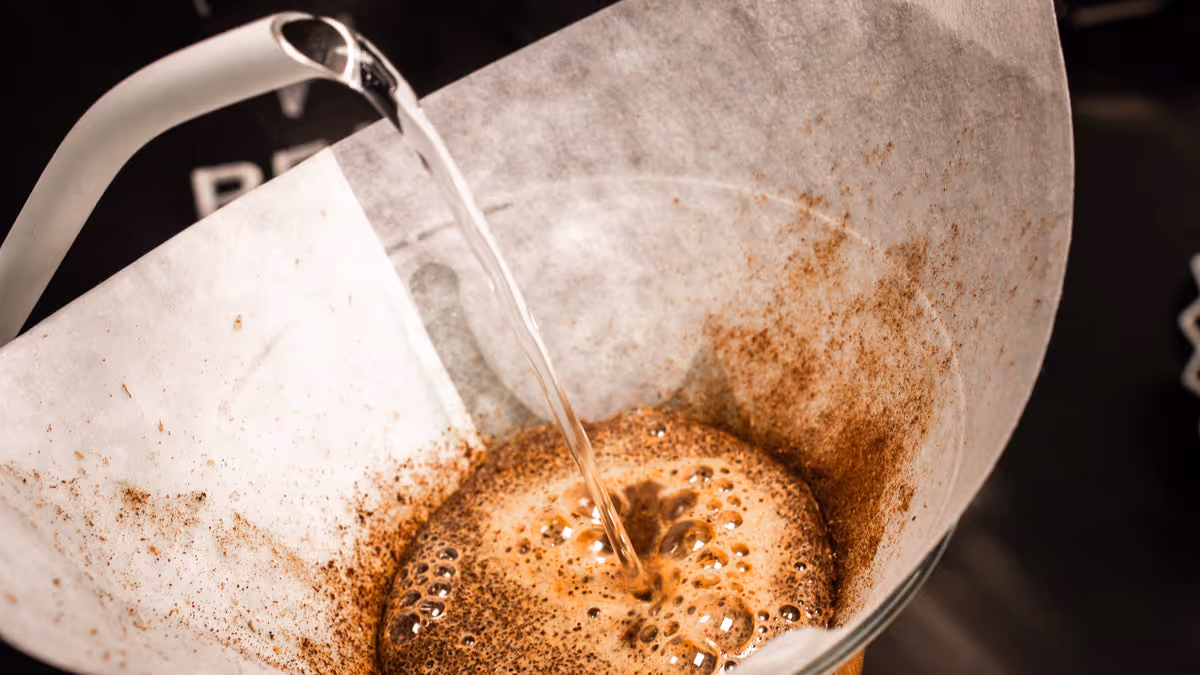
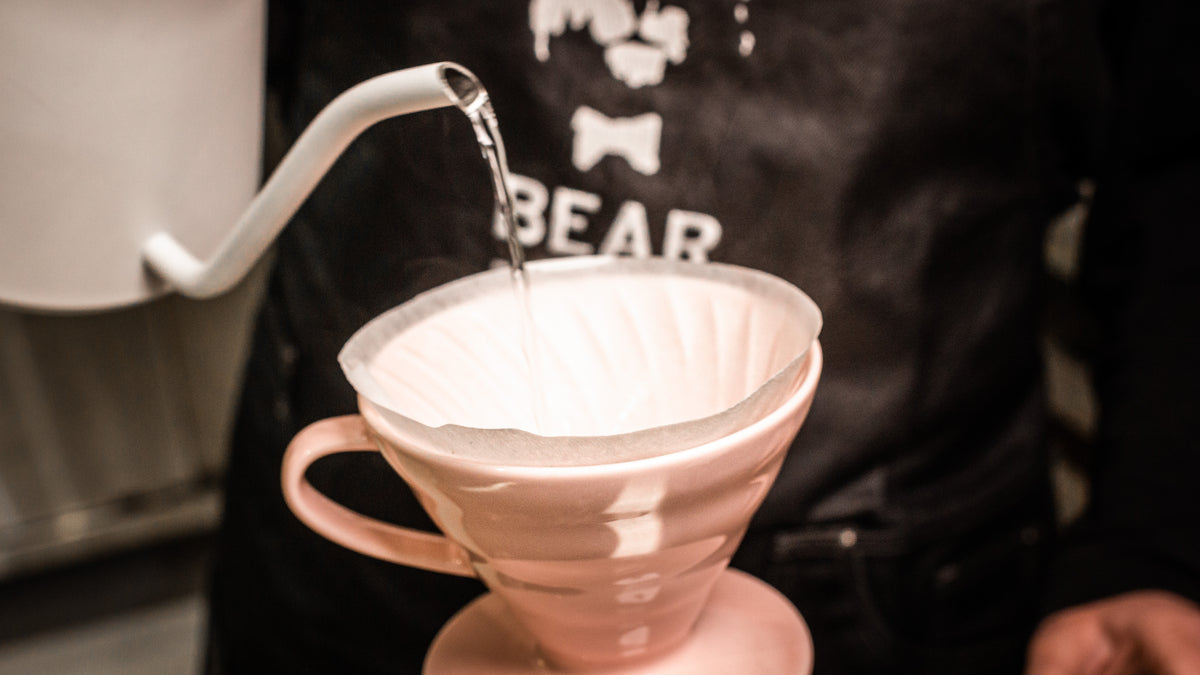
STEP 2.
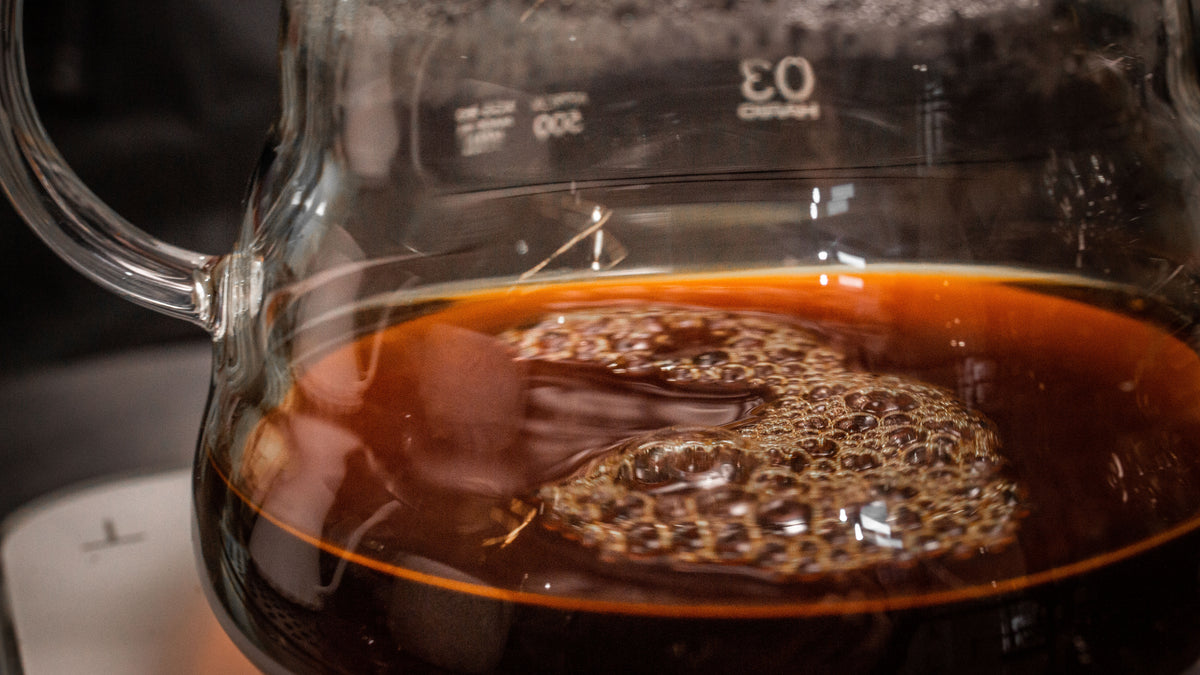
Place the Chemex Filter into your Chemex. First pre-wet the filter to get rid of any paper taste.Pour out this excess water through the spout.
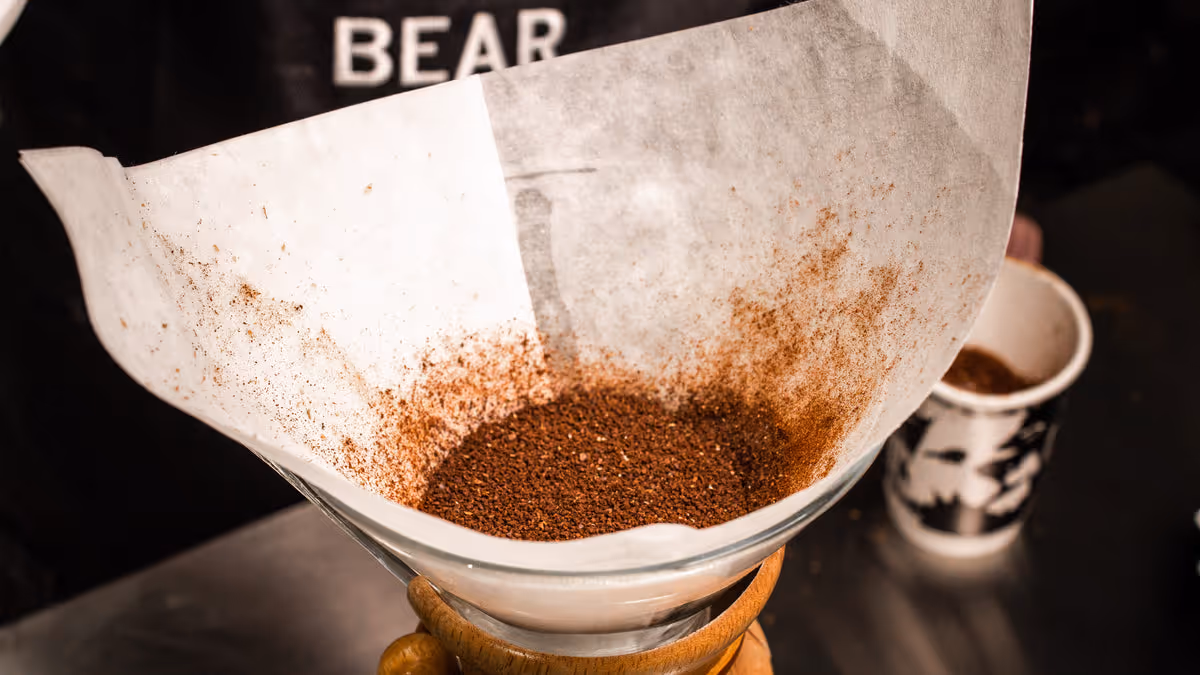
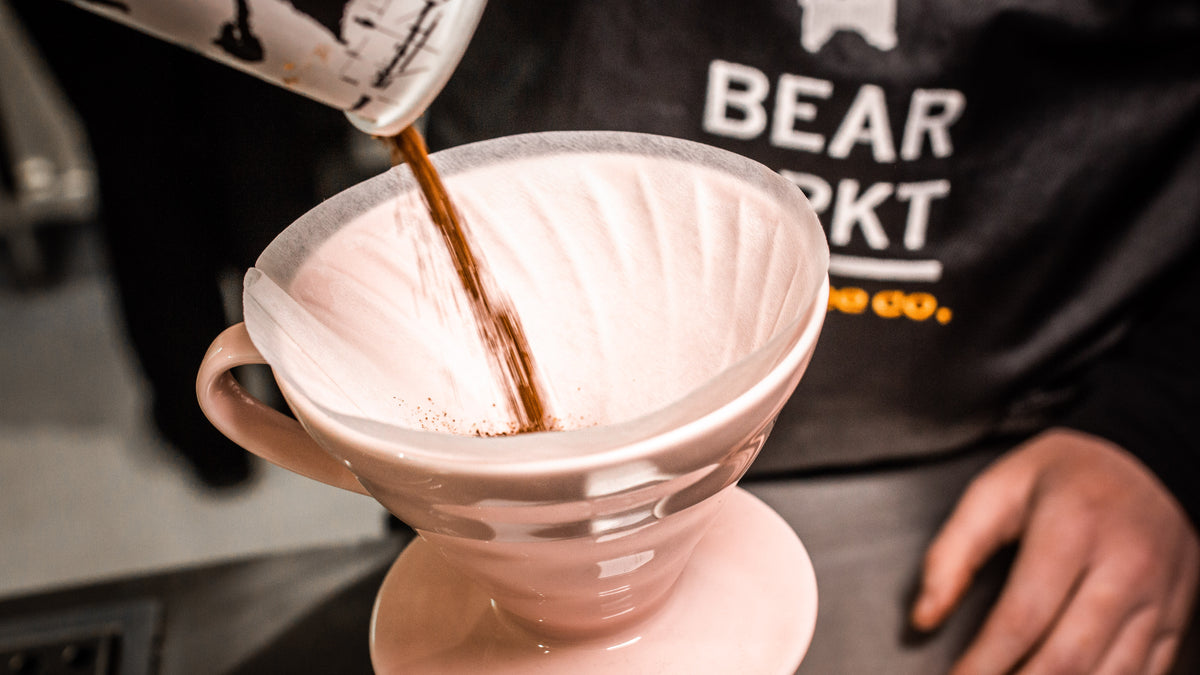
STEP 3.
Pour the ground coffee into the Chemex Filter. Make sure the coffee is spread evenly.
step 4.
For this method we will be doing 3 pours.The first one will be starting from the centre.Continue the other pours gently outwards. We recommend not to pour water into the sides of the filter.
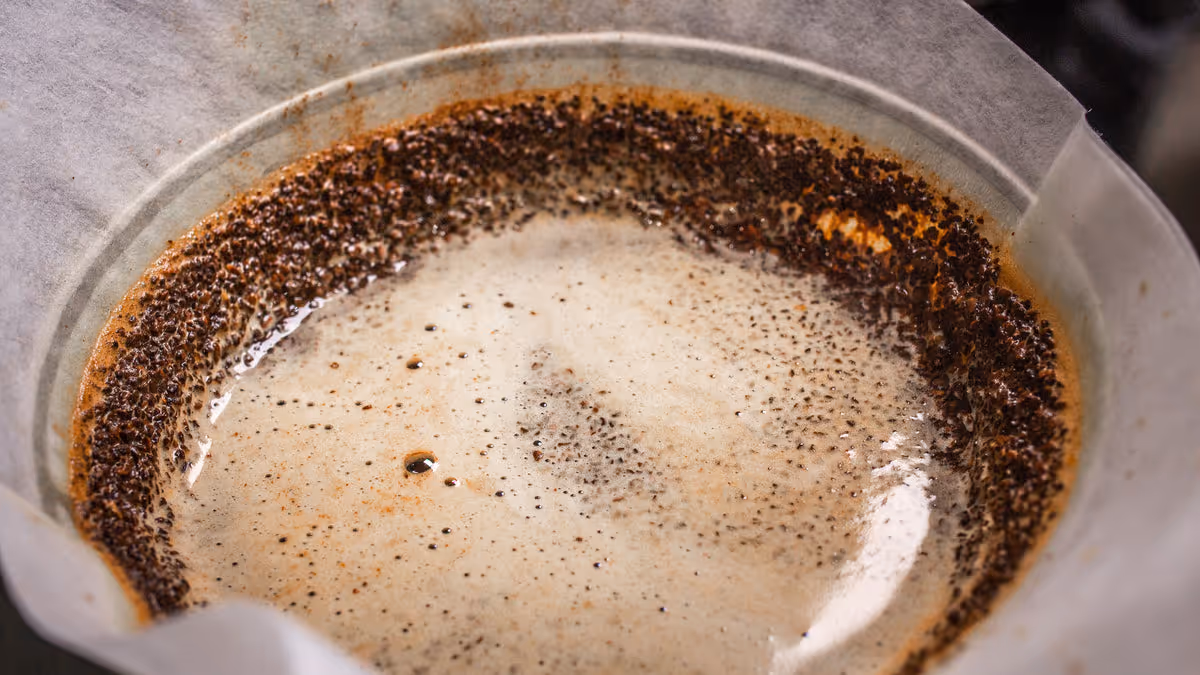
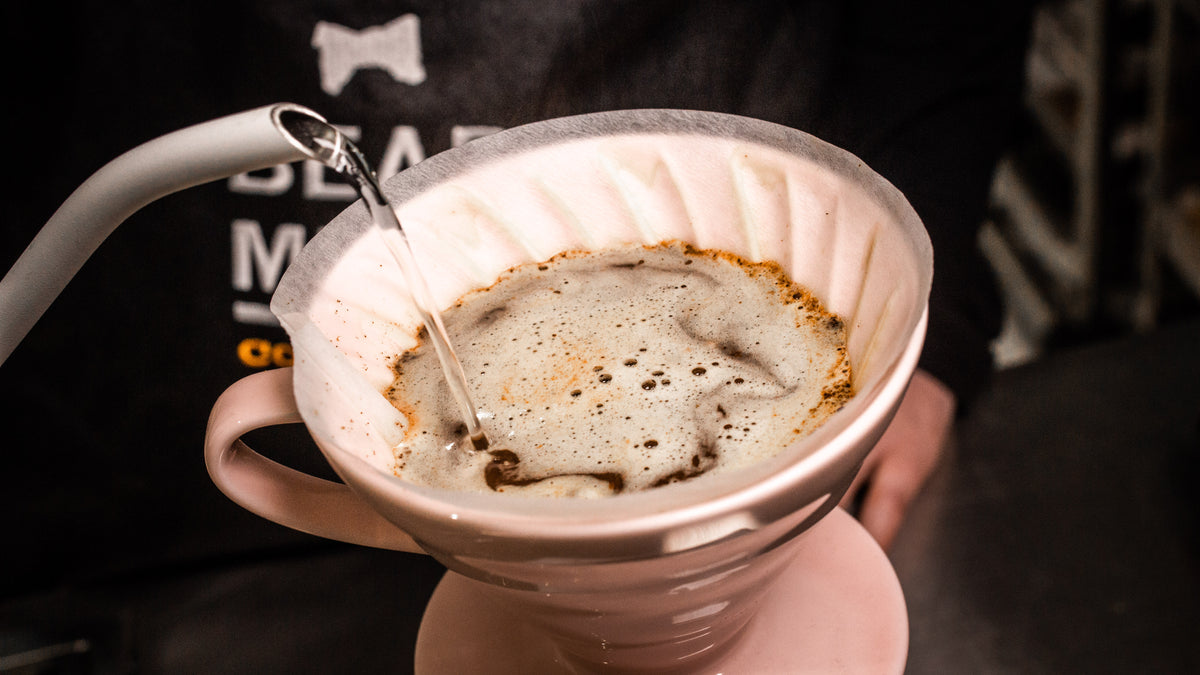
STEP 5.
Pour the water in a circular pattern from the center.
Start with 60 g of water and stir to make sure all coffee is covered, then let it bloom for 30 seconds.
STEP 6.
Pour a second time until 1 minute on the timer.
Wait 15-20 seconds before doing your third and final pour.
Pour up to the 500gr mark, this should be at around 1 minute 50 seconds.
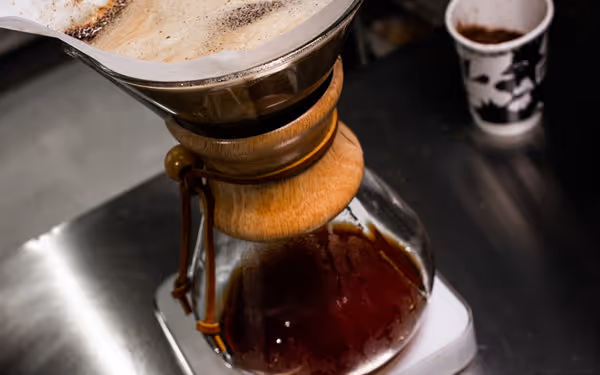
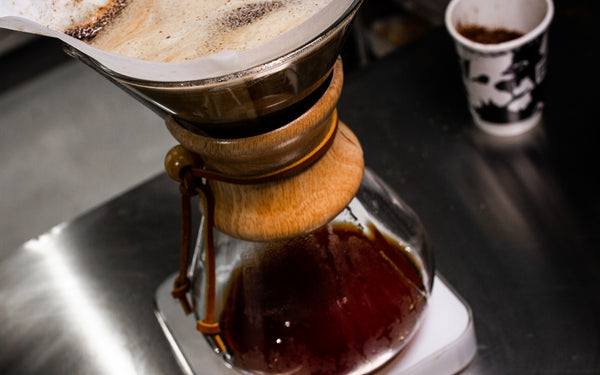
STEP 7.
Wait until the water has dripped through, it should be about 3-4 minutes. Remove the filter, give the chemex a swirl, pour and enjoy!
STEP 1.
We will be using 80 grams of coffee and grind on a coarse setting, and 1 litre of water.
STEP 2.
Twist to open the filter, add coffee to the bottom compartment.
STEP 3.
Close the cold brew bottle and fill the bottle to the top with cold filtered water. Shake the mix gently.
step 4.
After 6-8 hours, gently stir the coffee. You can leave it longer for a stronger brew.
STEP 5.
Pour the water in a circular pattern from the center.Start with 60 g of water and stir to make sure all coffee is covered, then let it bloom for 30 seconds.
STEP 6.
Remove the filter.
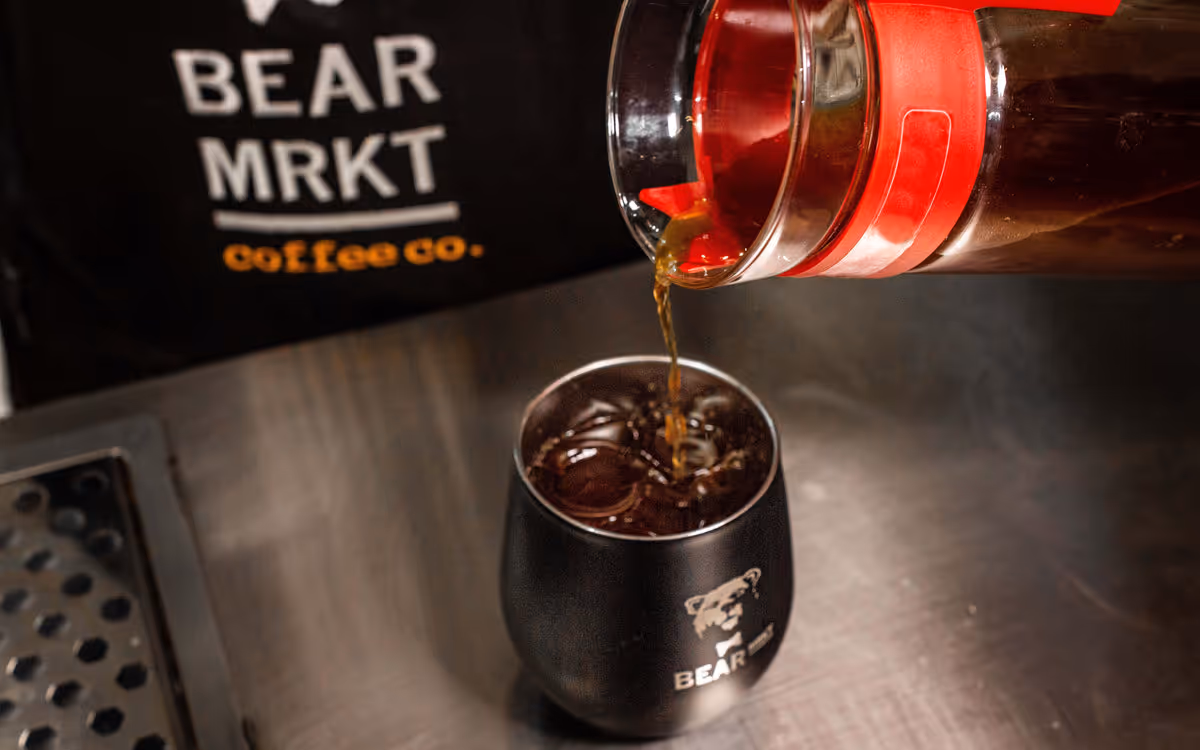
STEP 7.
Serve your coffee with ice cubes and enjoy!
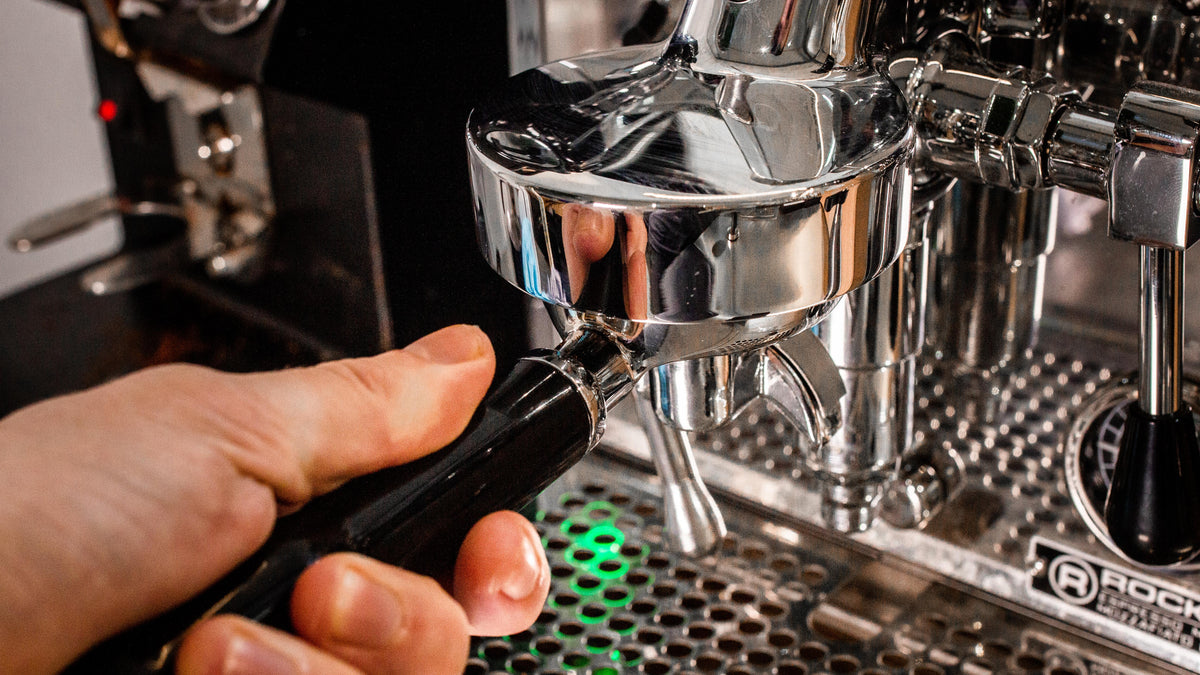
STEP 1.
Grind your coffee very finely. For this recipe we will be using 17g of coffee.
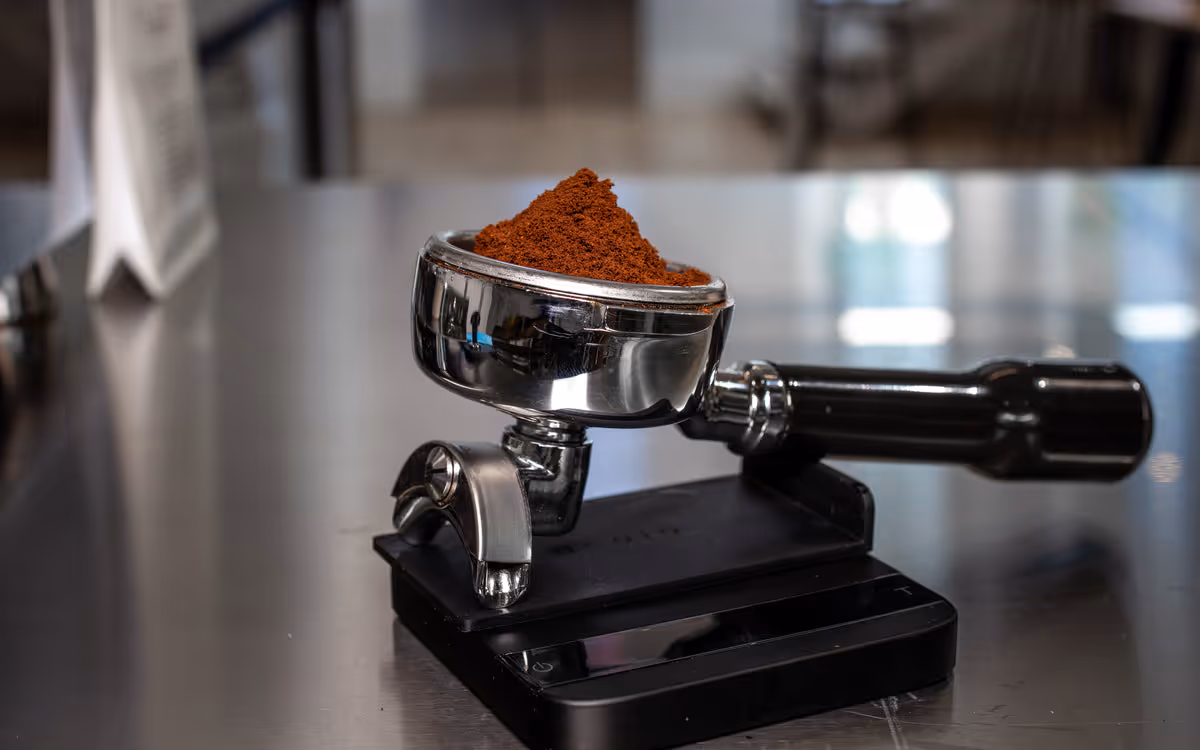
STEP 2.
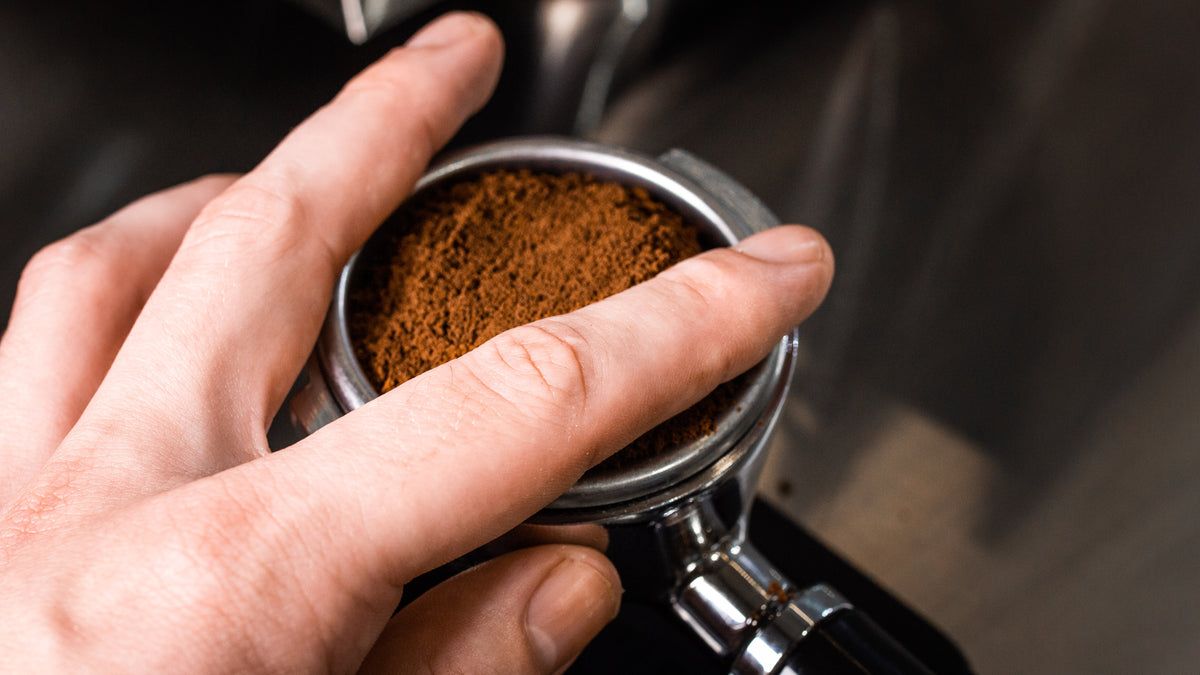
Even out the coffee in the basket of the portafilter, and tamp down, applying pressure evenly, until you feel the resistance from the coffee.
STEP 3.
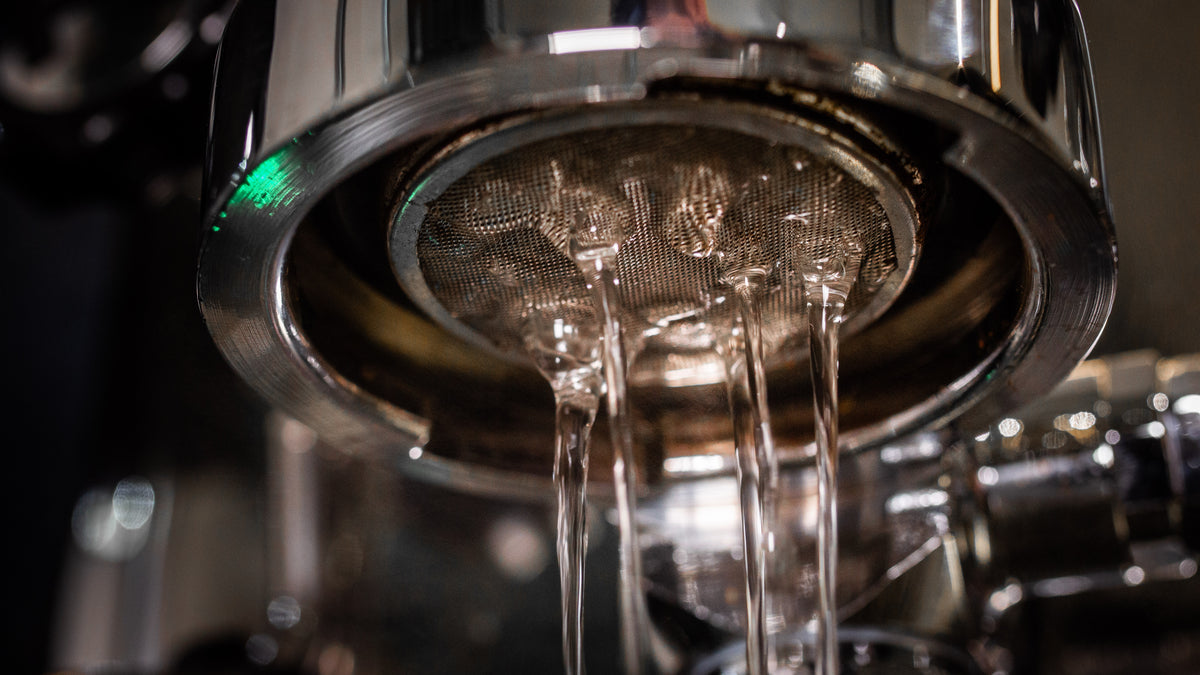
Rinse the grouphead by letting some water through for a second. Then you can lock the portafilter in place, and place your cup underneath.
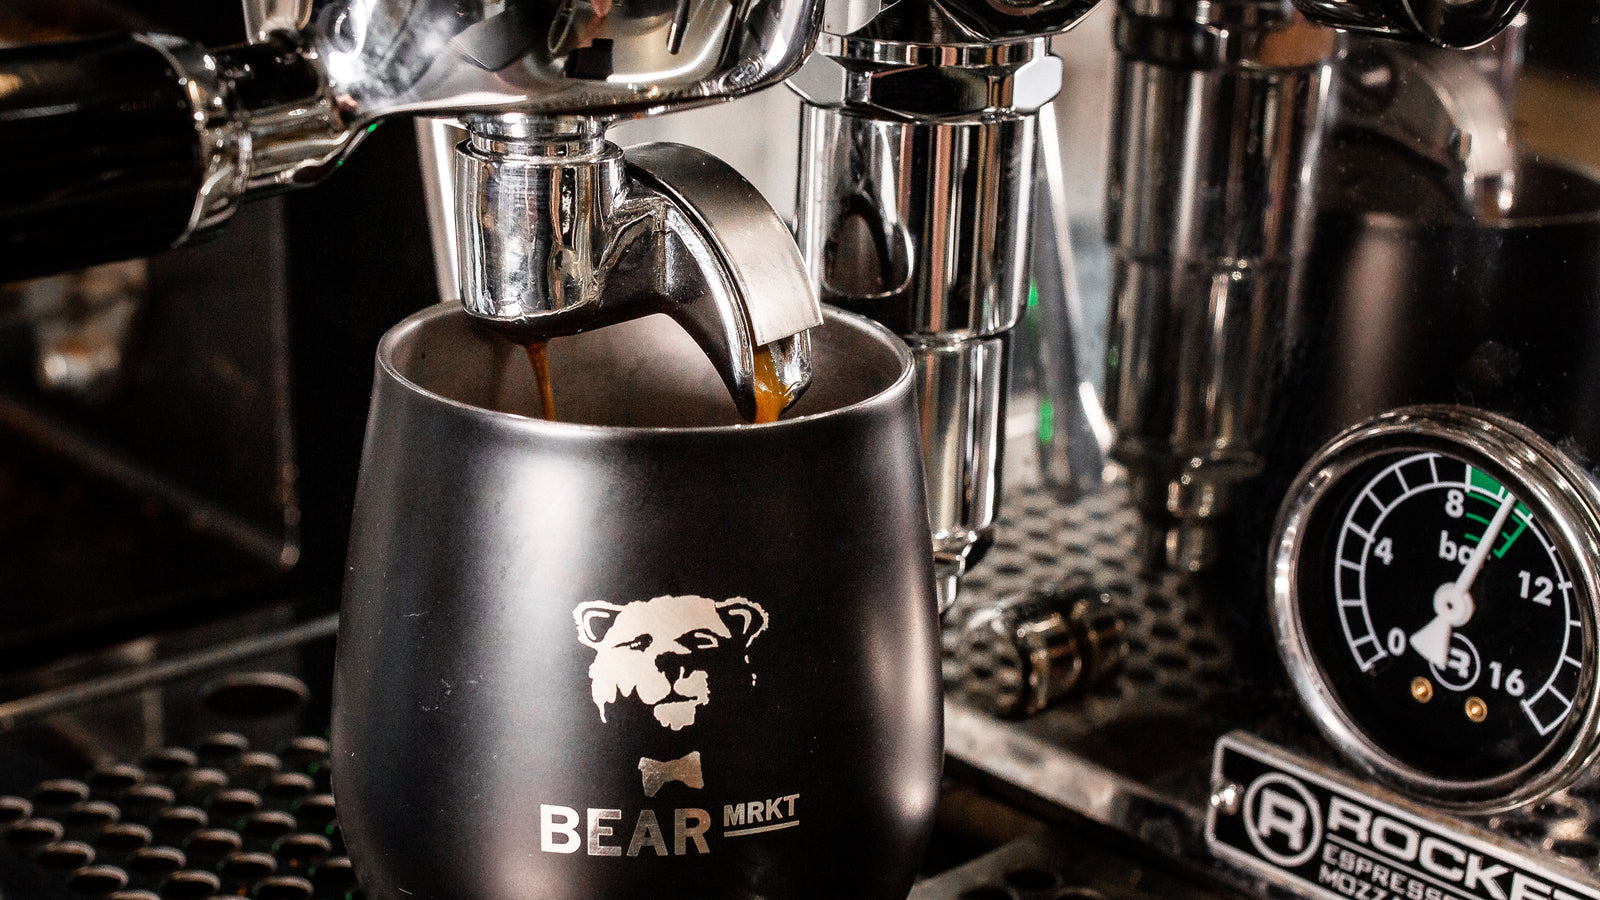
step 4.
Extract your espresso for roughly 26/30 seconds. It should give you roughly 45g of espresso.
STEP 5.
From here, you can decide if you would like it as a latte, cappuccino, or just straight espresso. Enjoy!
STEP 6.
Pour a second time until 1 minute on the timer.
Wait 15-20 seconds before doing your third and final pour.
Pour up to the 500gr mark, this should be at around 1 minute 50 seconds.
STEP 7.
Wait until the water has dripped through, it should be about 3-4 minutes. Remove the filter, give the chemex a swirl, pour and enjoy!
STEP 1.
For this recipe, we will be using 45 grams of coffee, and 500 grams of water at about 93 degrees Celsius.
STEP 2.
Grind your coffee. The grind for French Press Coffee is a coarse grind.Pre heat your French Press with some hot water, and then pour this water out.
STEP 3.
Then add your ground coffee. Pour 500g of water in a slow circular motion.
step 4.
After stirring with the wooden spoon allow the coffee to bloom for 30 seconds.
STEP 5.
Pour in the remaining water and place the lid gently on top. Let the coffee steep for 4 minutes before plunging.
STEP 6.
Press the coffee down slowly. Once you have completely pressed, serve and enjoy!
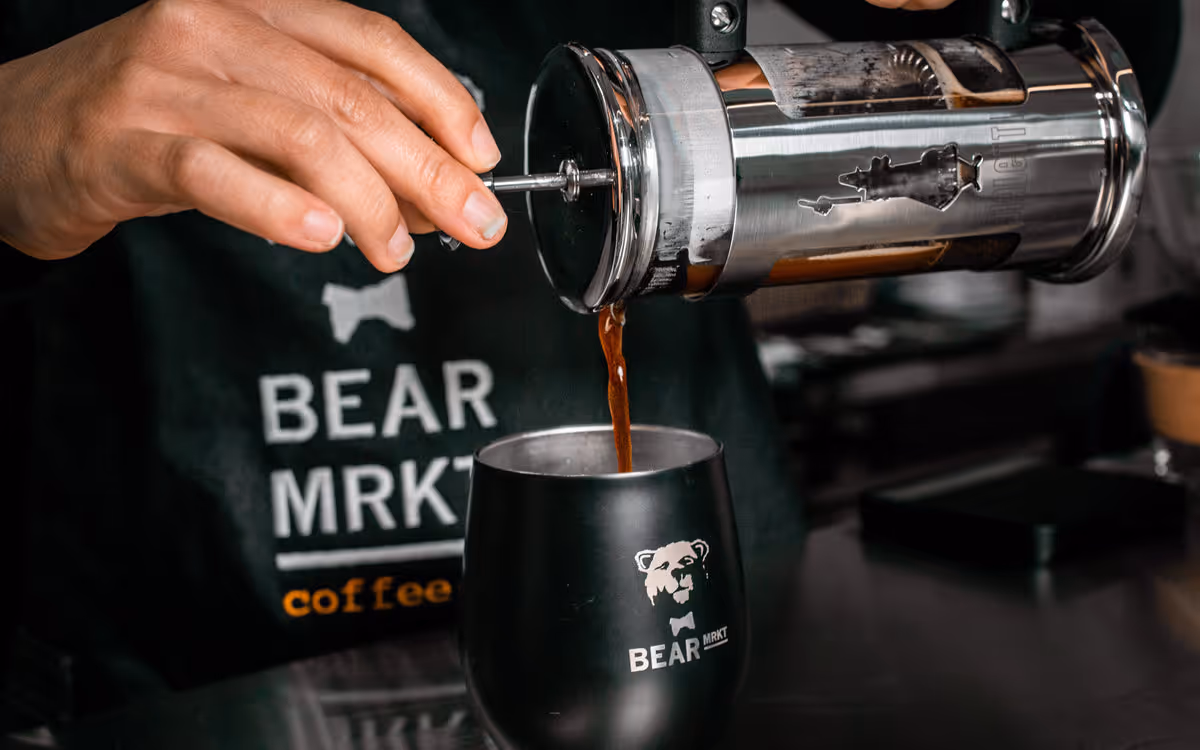
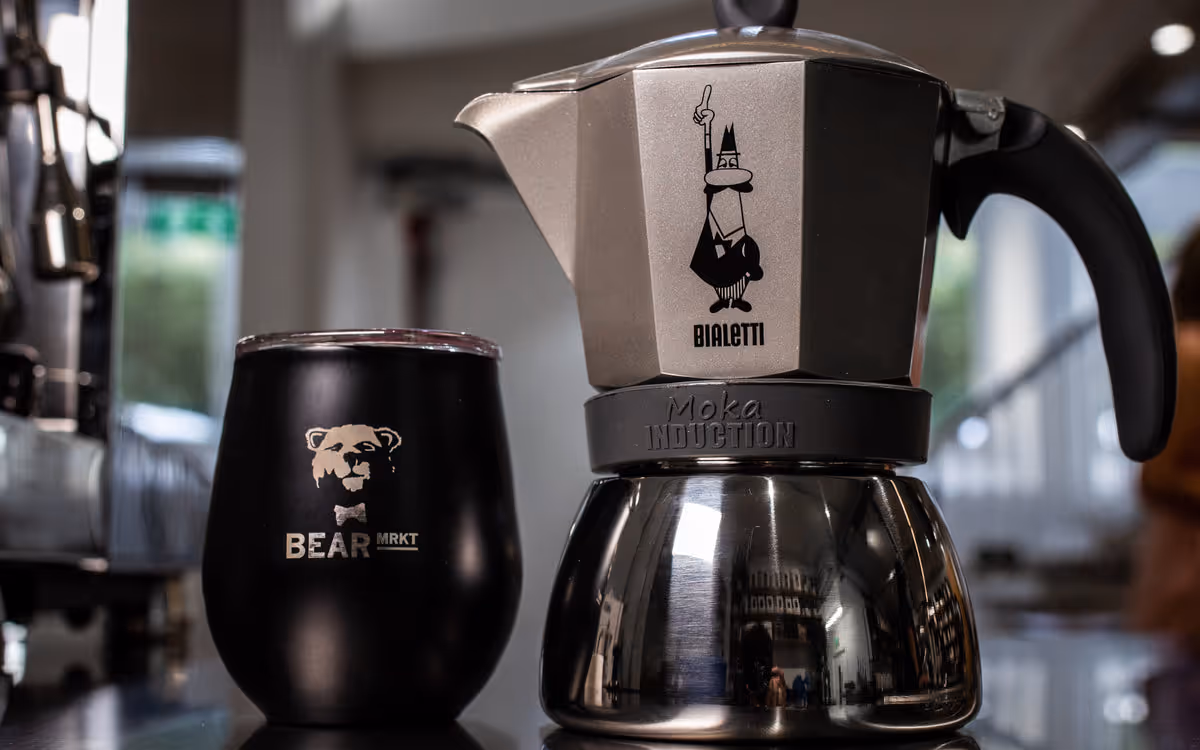
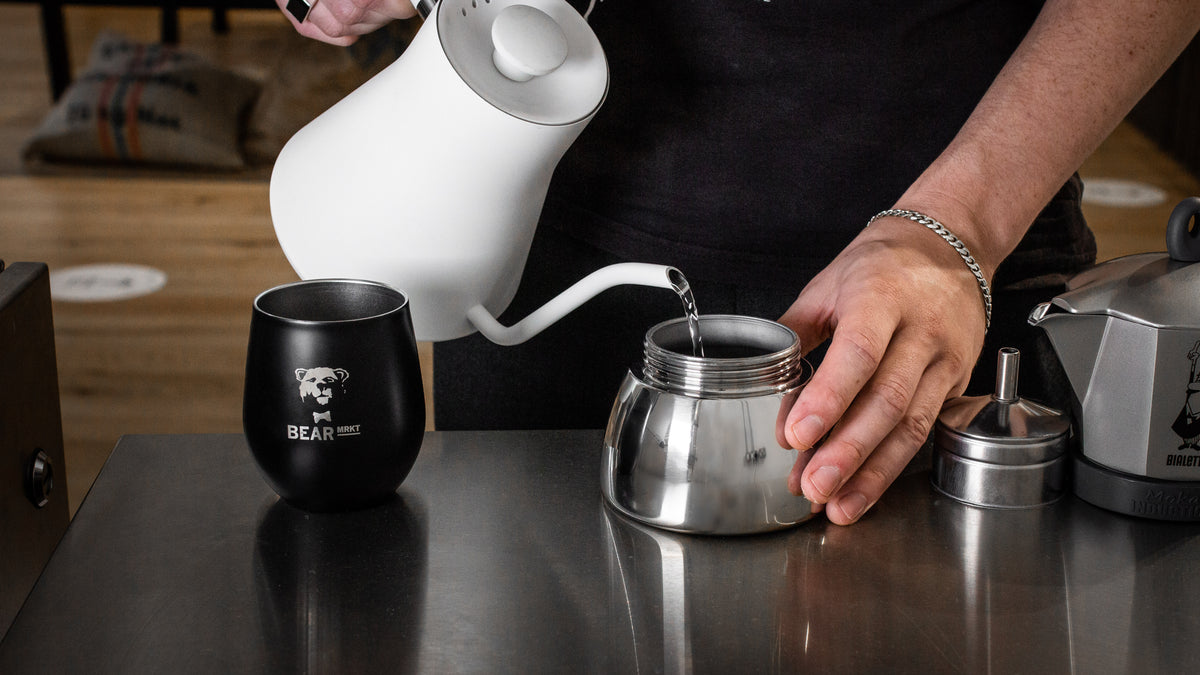
STEP 1.
For this method we are using the Bialetti Moka Pot Induction 3 cup.
We will be using 16.5g of coffee, which is about 4 full teaspoons. The grind for this method is fine, similar to table salt.
STEP 2.
The bottom chamber of the moka pot needs to be filled with cold water, until it is under the valve, never go over the safety valve! The approx amount of water would be 150 grams.
STEP 3.
Add the ground coffee to the filter up to the top of the Moka Pot, it doesn’t have to be right to the edges. Make sure the coffee is spread evenly.
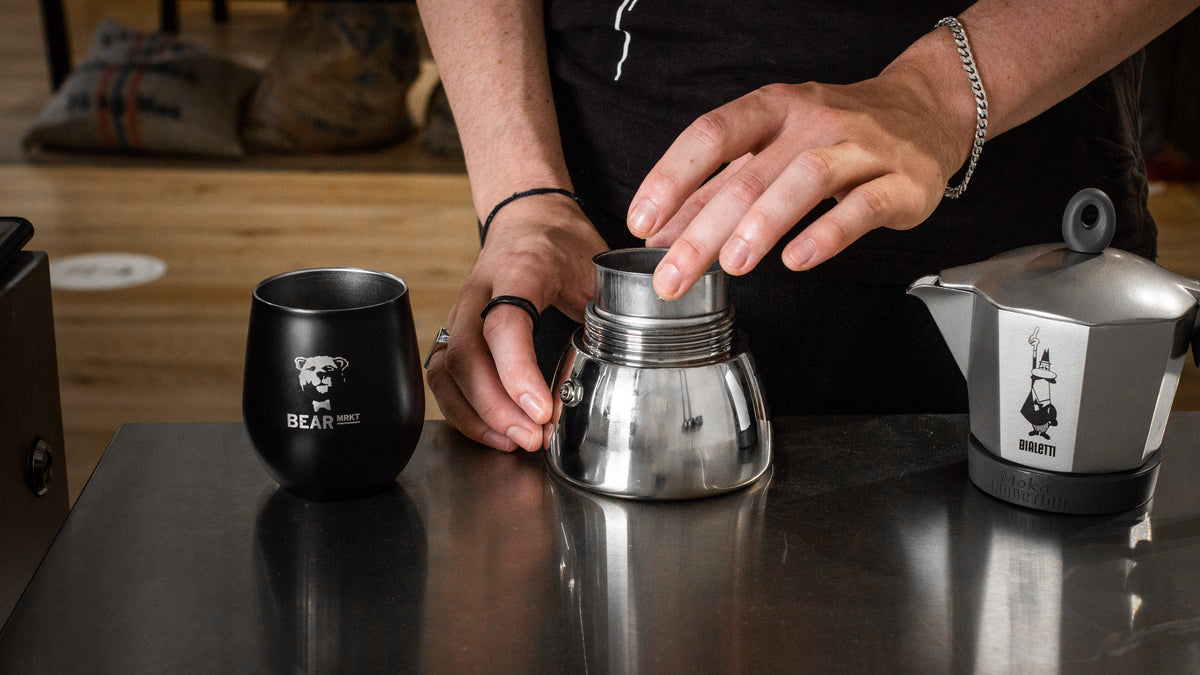
step 4.
Screw the Moka Pot together.
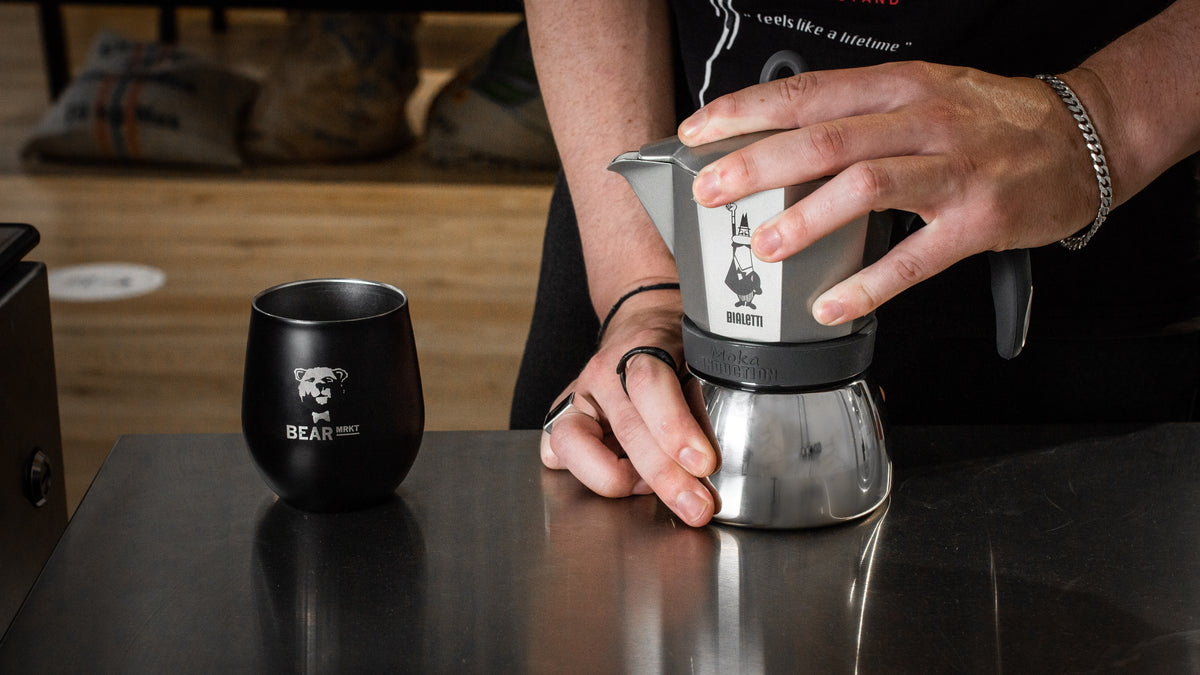
STEP 5.
When you place your Moka Pot on the stove make sure that the flame is medium to low.

STEP 6.
The heat will make the water boil and the pressure will produce steam into the upper part of the Moka Pot. A gurgling sound will be the indicator that the coffee is done, you can now remove the Moka Pot from the stove.
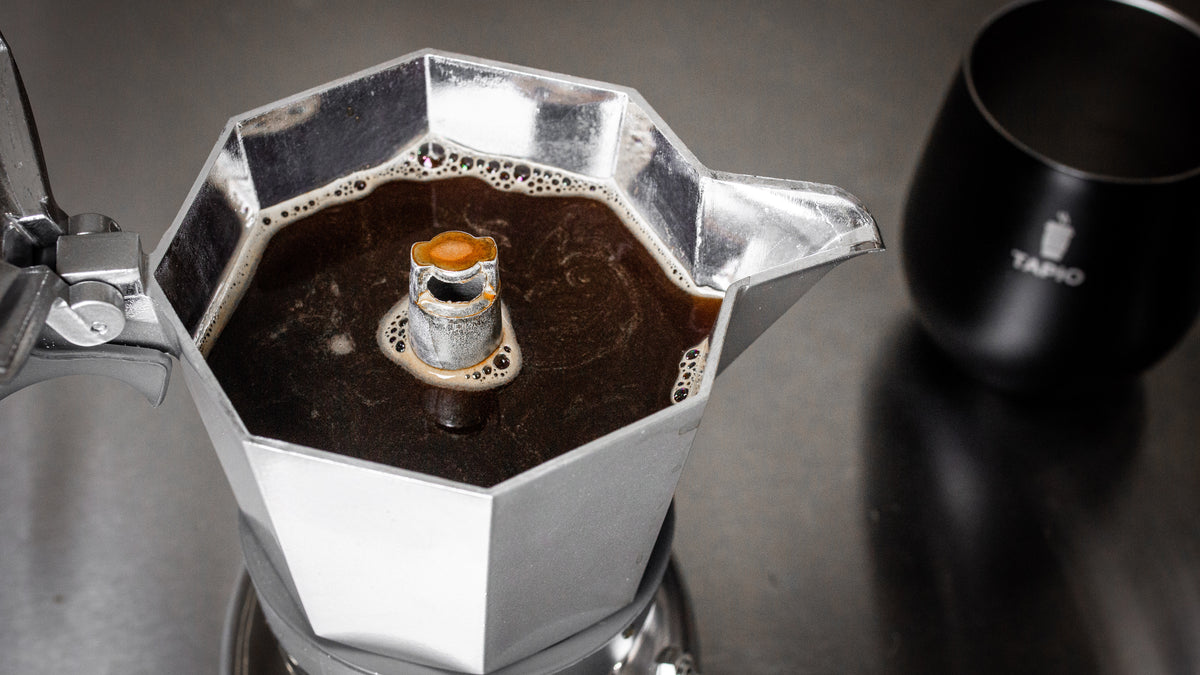
STEP 7.
Let the coffee settle and then you can enjoy!
STEP 1.
For this recipe we will be using 30g of coffee, to 500g of water. This will maketwo cups of coffee. The type of grind for this method will be coarser than table salt.
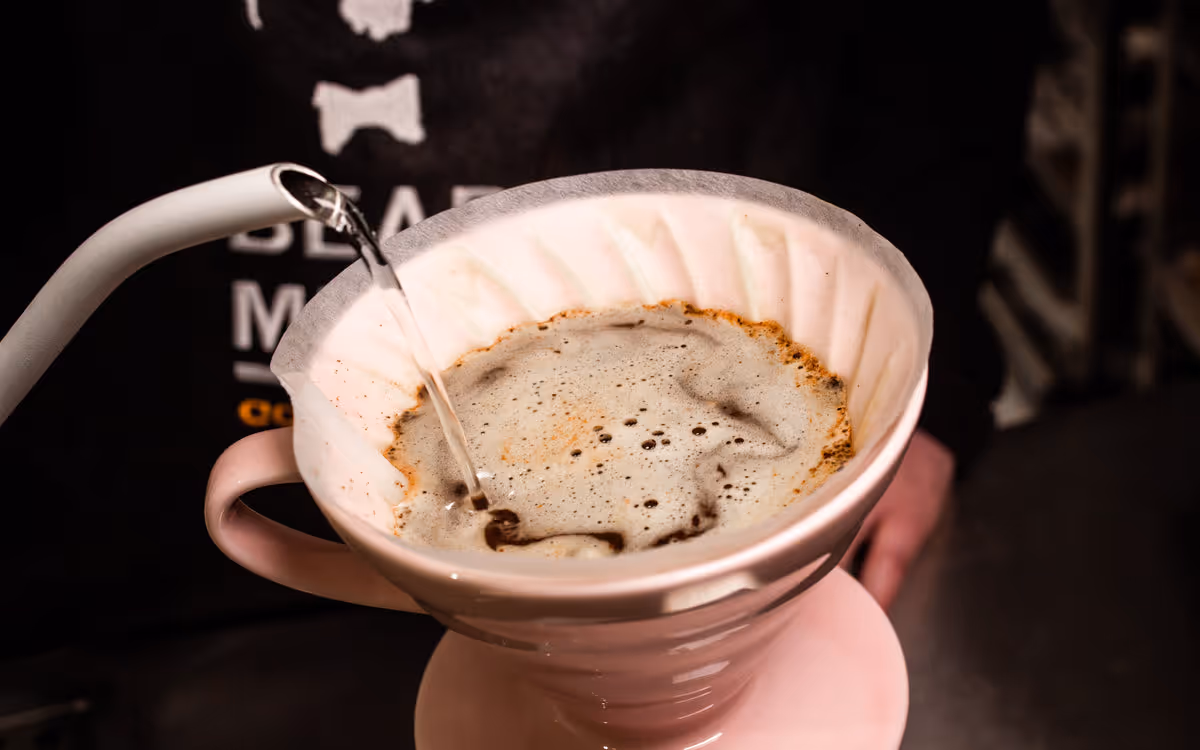
STEP 2.
Weigh out 30g of coffee into your filter. Pre wet the filter. This also heats the v60 itself, and the mug
STEP 3.
Add the ground coffee to the V60 filter.
step 4.
We like to do 3 pours in total, to bring the total amount of water to 500g. Start a timer, and pour in about 60-70g of water to bloom the coffee. Do this in a circular motion.
After 30 seconds, start your second pour up to about 150g.When this water filters through you can pour in the rest of the water.
STEP 5.
Allow all the water to drip through the coffee.
STEP 6.
Once this is completed, you can pour and enjoy it!


What having our own roastery means to us..
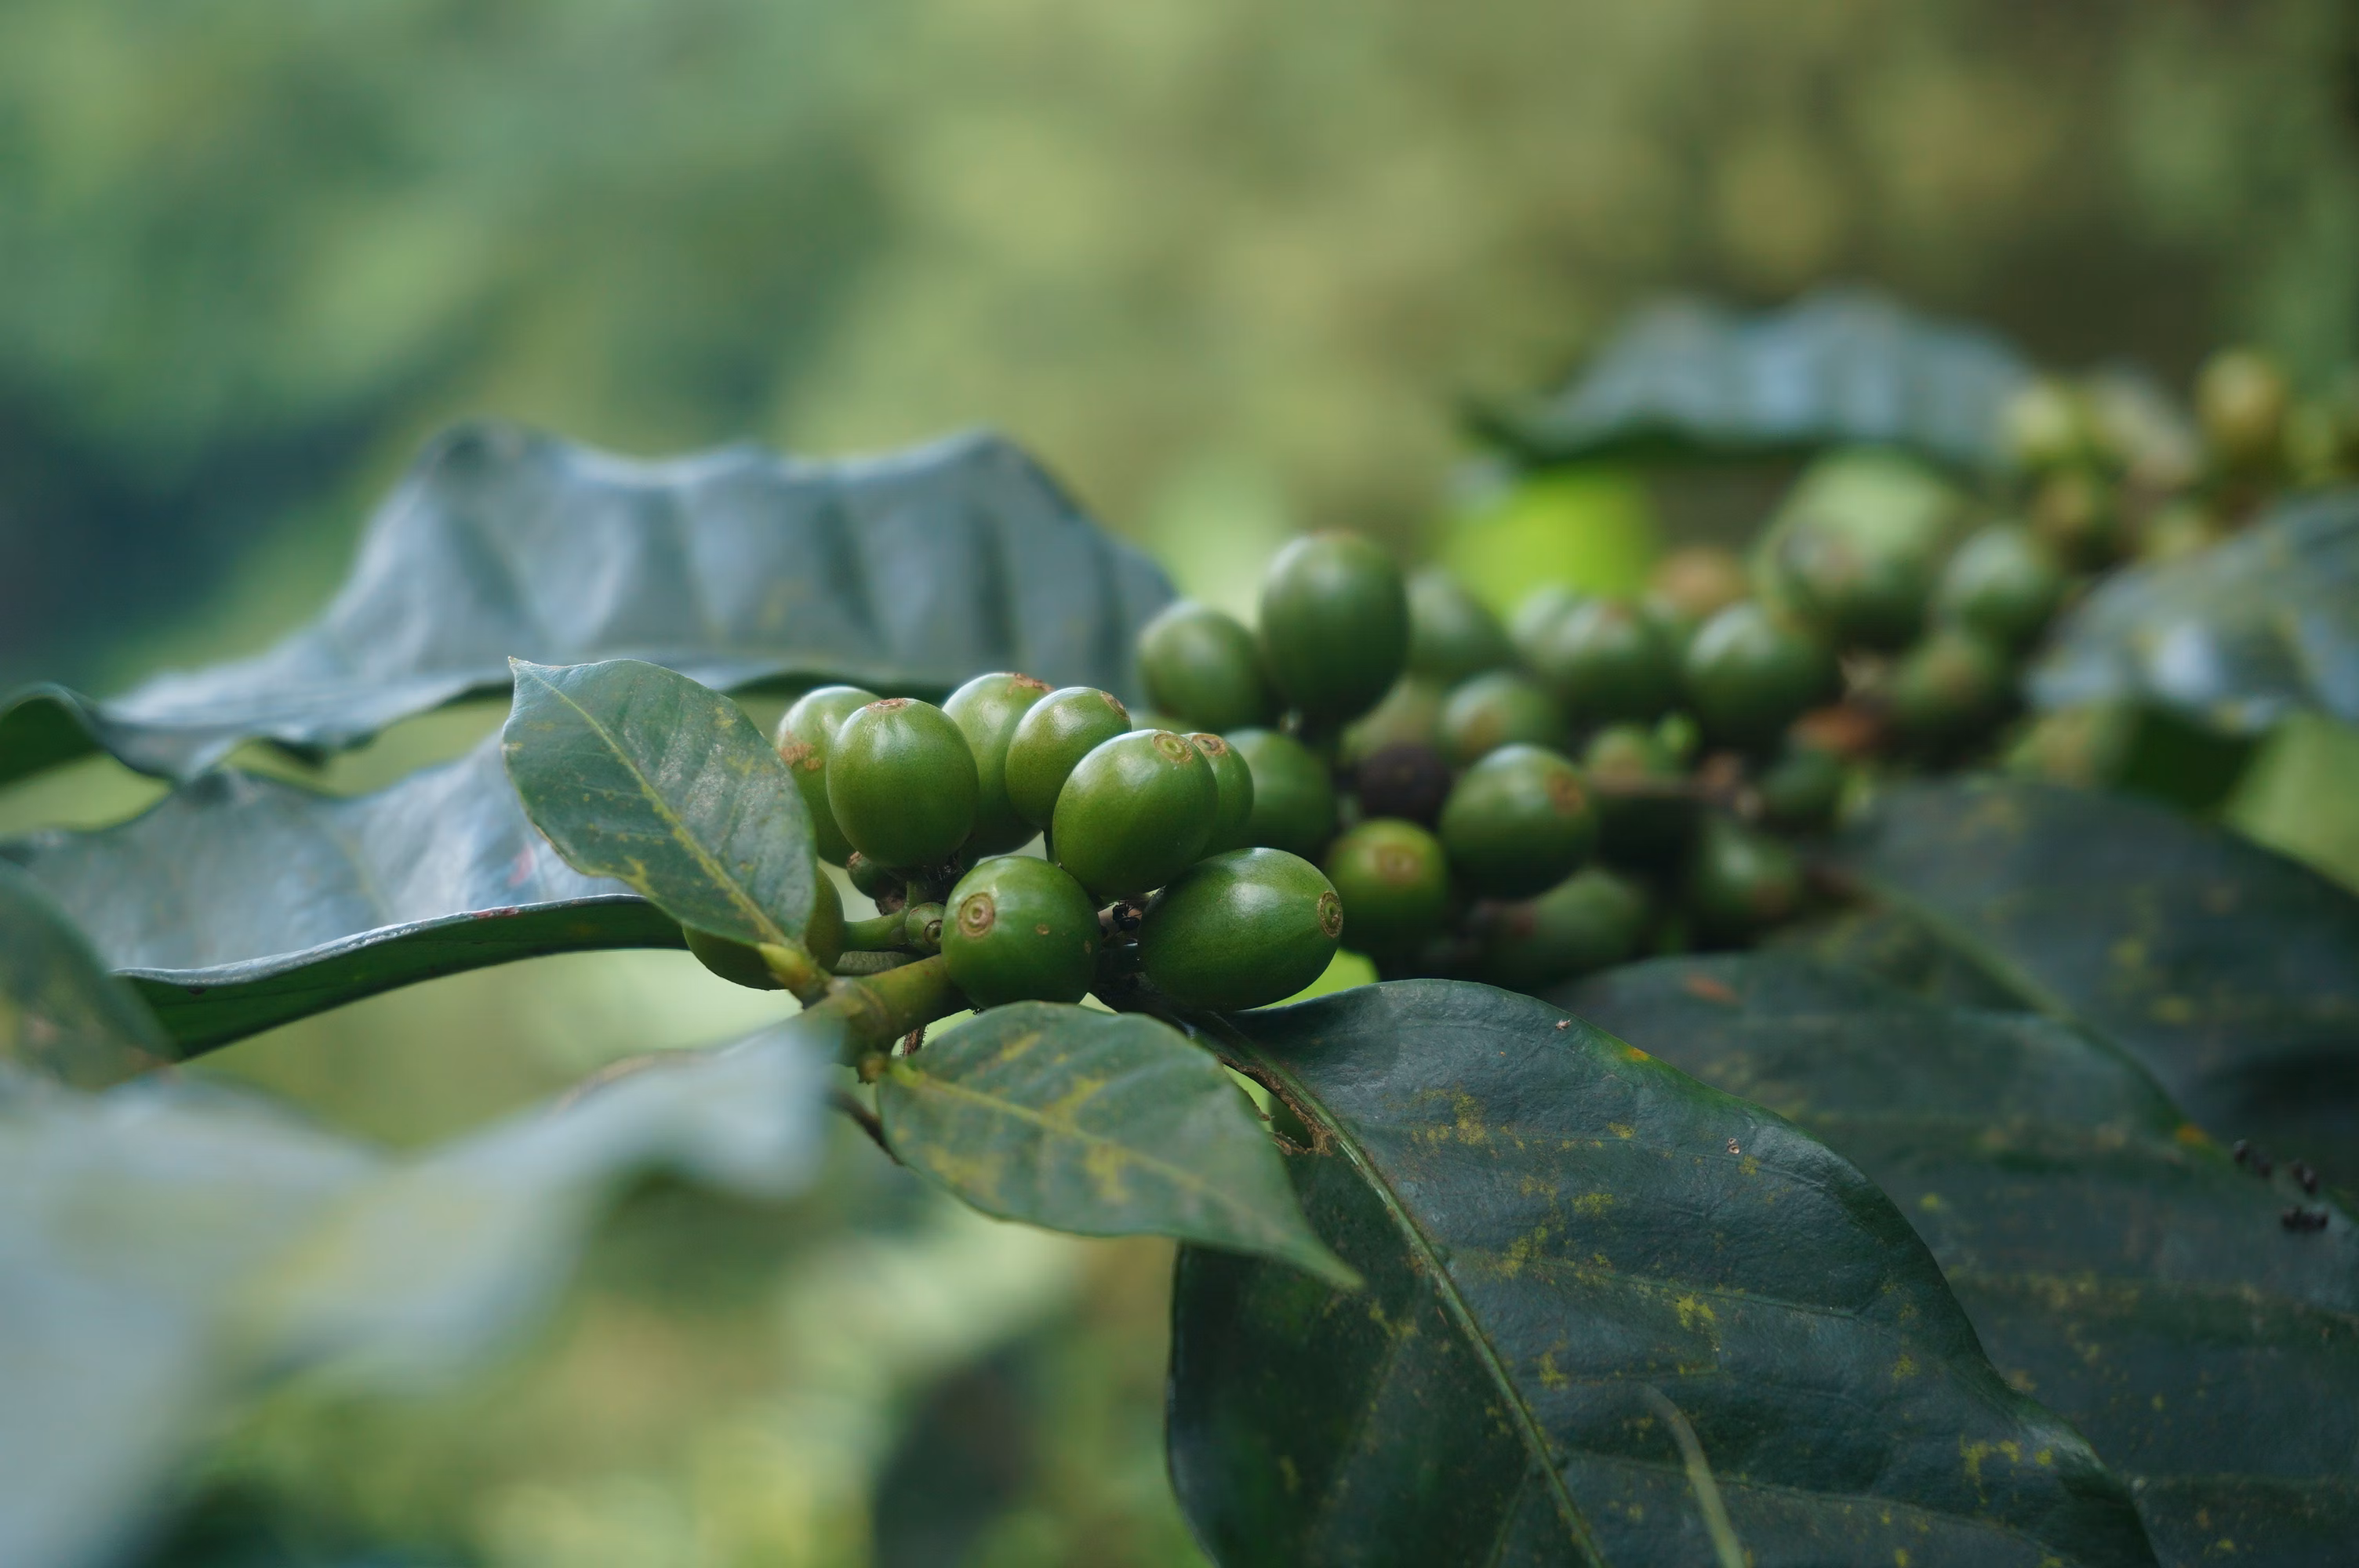
Having our own roastery means we can control every step of the coffee journey, from sourcing green beans to perfecting each roast. It lets us deliver the freshest, most flavourful coffee to our cafés and customers, while reducing waste and cutting emissions. Roasting in our Stillorgan church-turned-roastery isn’t just about quality, it’s about staying true to our values of sustainability, community, and craft.
OUR SUSTAINABILTY JOURNEY
We believe great coffee shouldn’t come at the cost of the planet. That’s why we’re committed to sustainable sourcing, compostable or recyclable packaging, and minimizing our carbon footprint every step of the way. From working with responsible growers to reducing waste in our production and delivery processes, we’re constantly looking for ways to do better - for your cup and the earth.
SIGN UP FOR OUR NEWSLETTER
Stay updated with the latest coffee trends, exclusive offers, and our expert tips.